Step By Step Guide to Create Metrics & Set Alert Rule Using Monitor in Azure
Hello Readers, In the blog we are going to explain how to create monitor service & set on alert rule on created metrics in Microsoft azure. Azure monitoring services helps to maximize the availability and performance of applications and services. Using monitor service, we can collect, analyze the data & check the usage of web application.
There are some points to create monitor in Microsoft azure:
- Login to Azure portal.
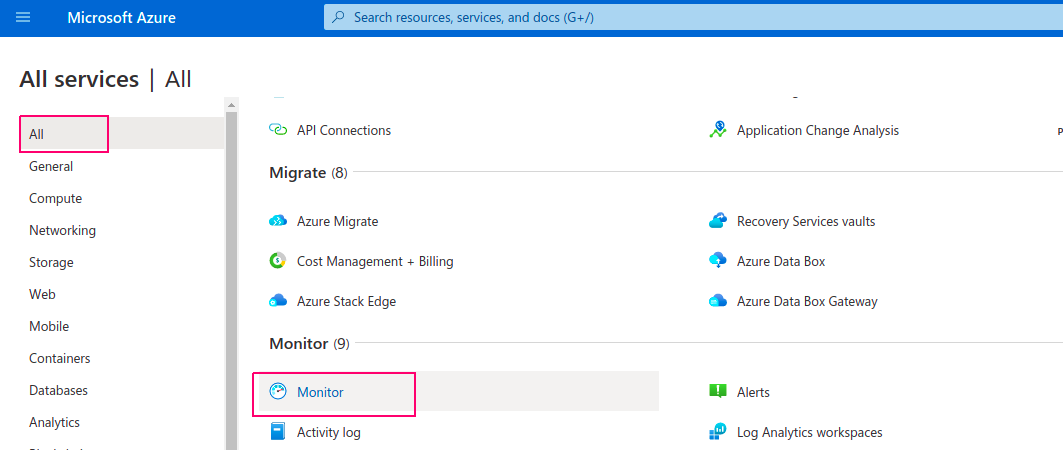
- Click on All Services.
- Select Monitor.
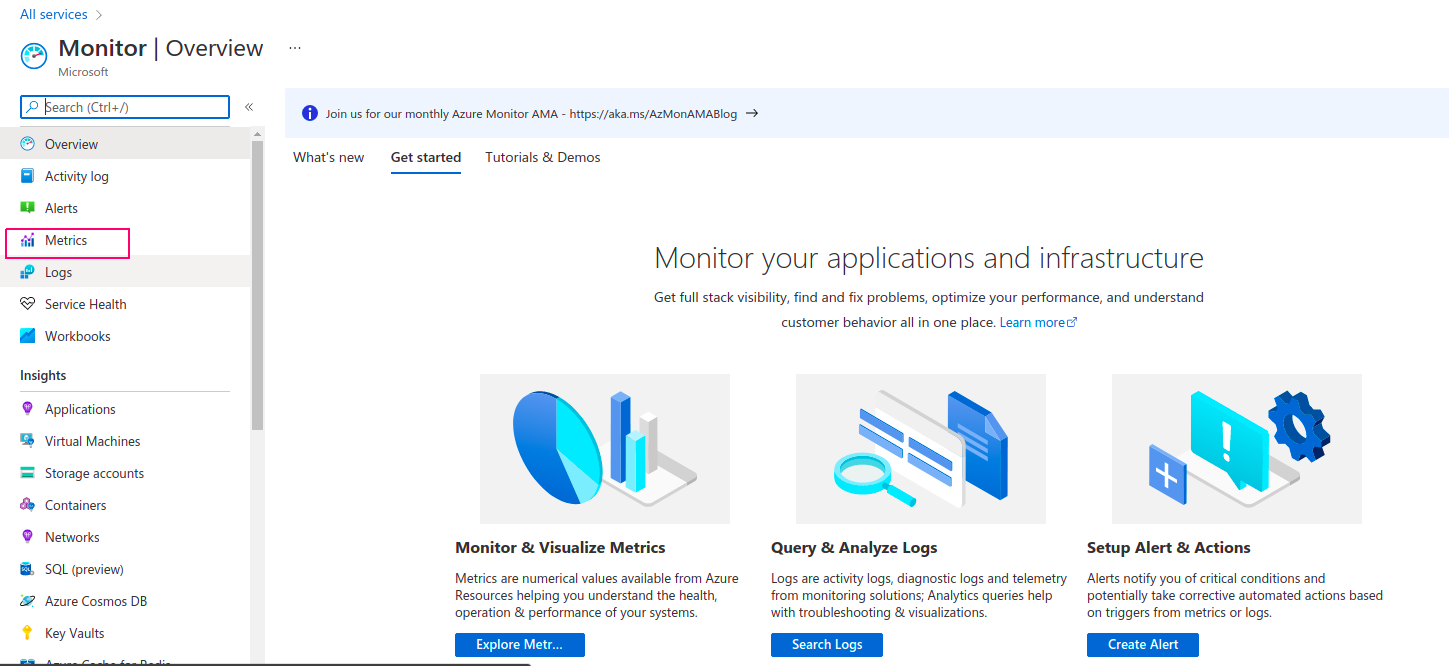
- Click on Metrics.
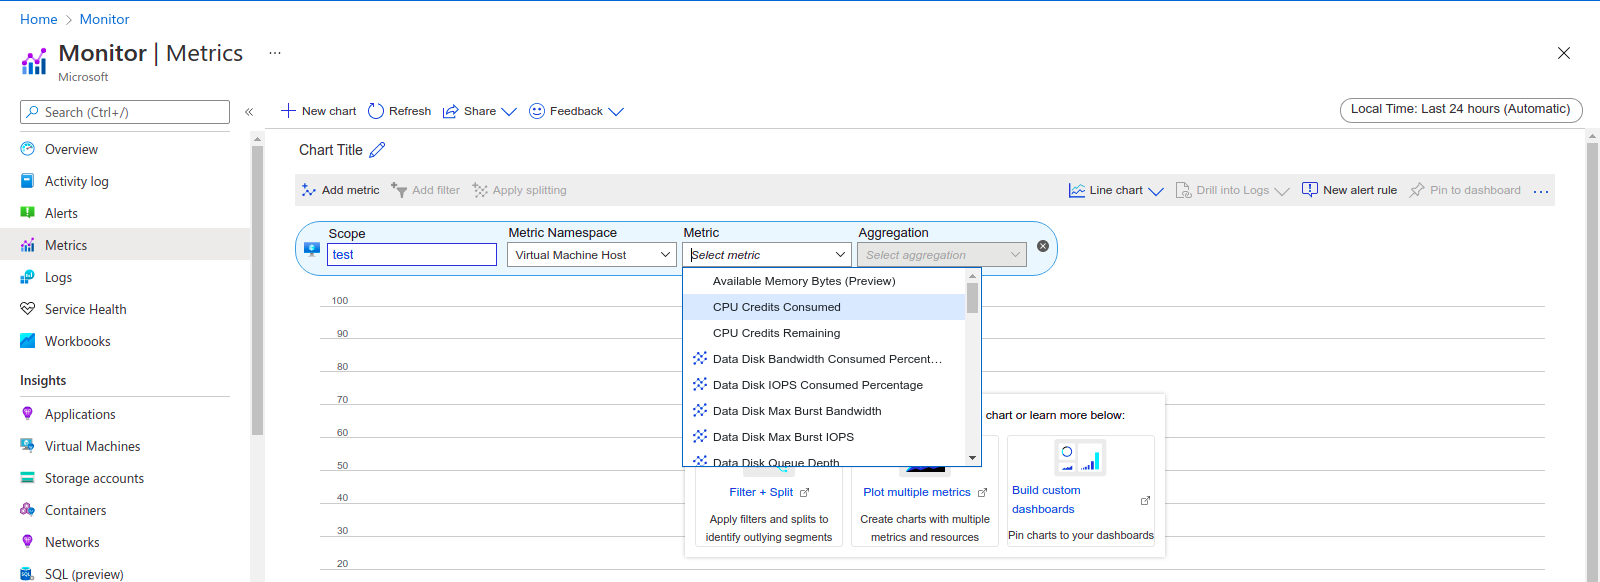
- Now select a Scope.
- Select Virtual machine,which is located in resource group.
- Click on Apply.

- Next is Metric Namespace, select virtual machine(Host).
- Select Metric such as Percentage CPU,OS disk IOPS Consumed Percentage, Data Disk IOPS Consumed Percentage or Available Memory Byte.
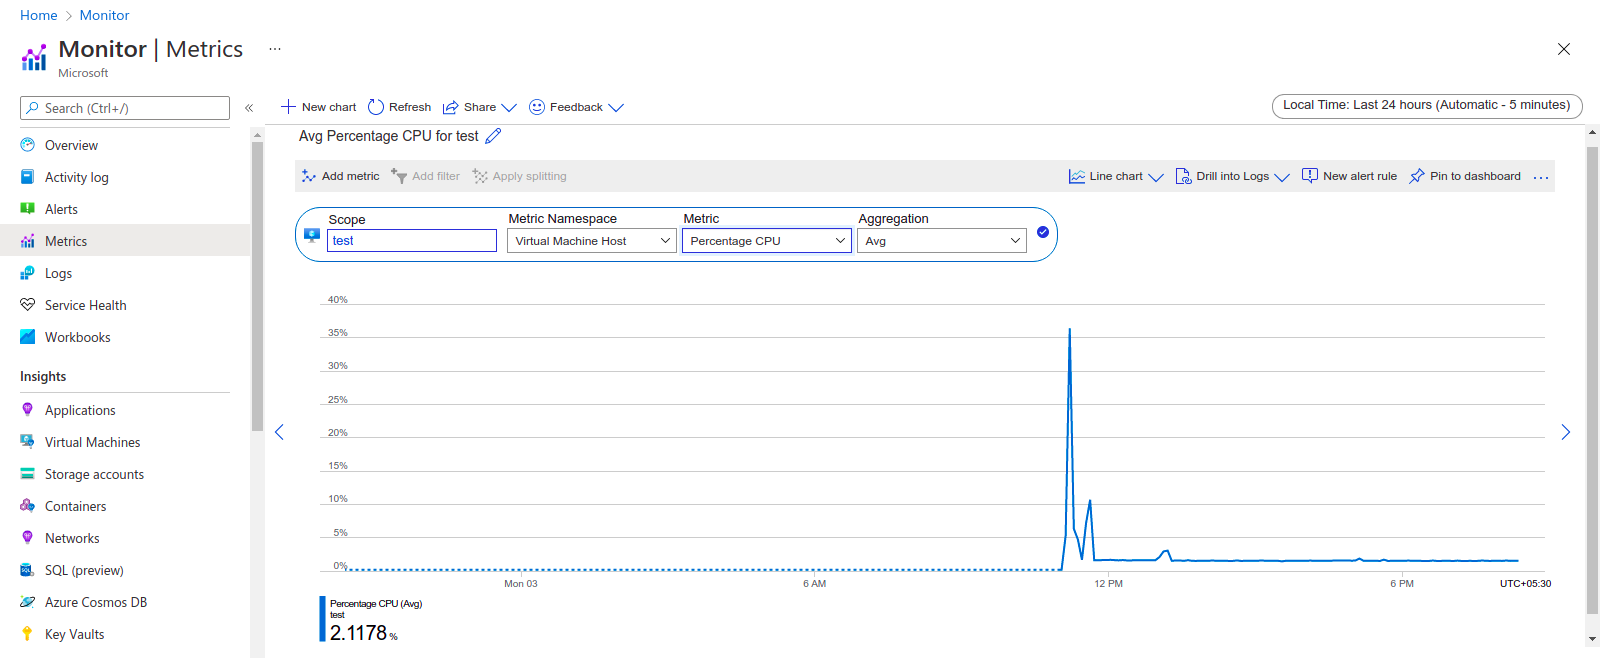
- Next is Aggregation,select aggregation such as Avg,sum,count,min or max.
- Now Graph is Ready.
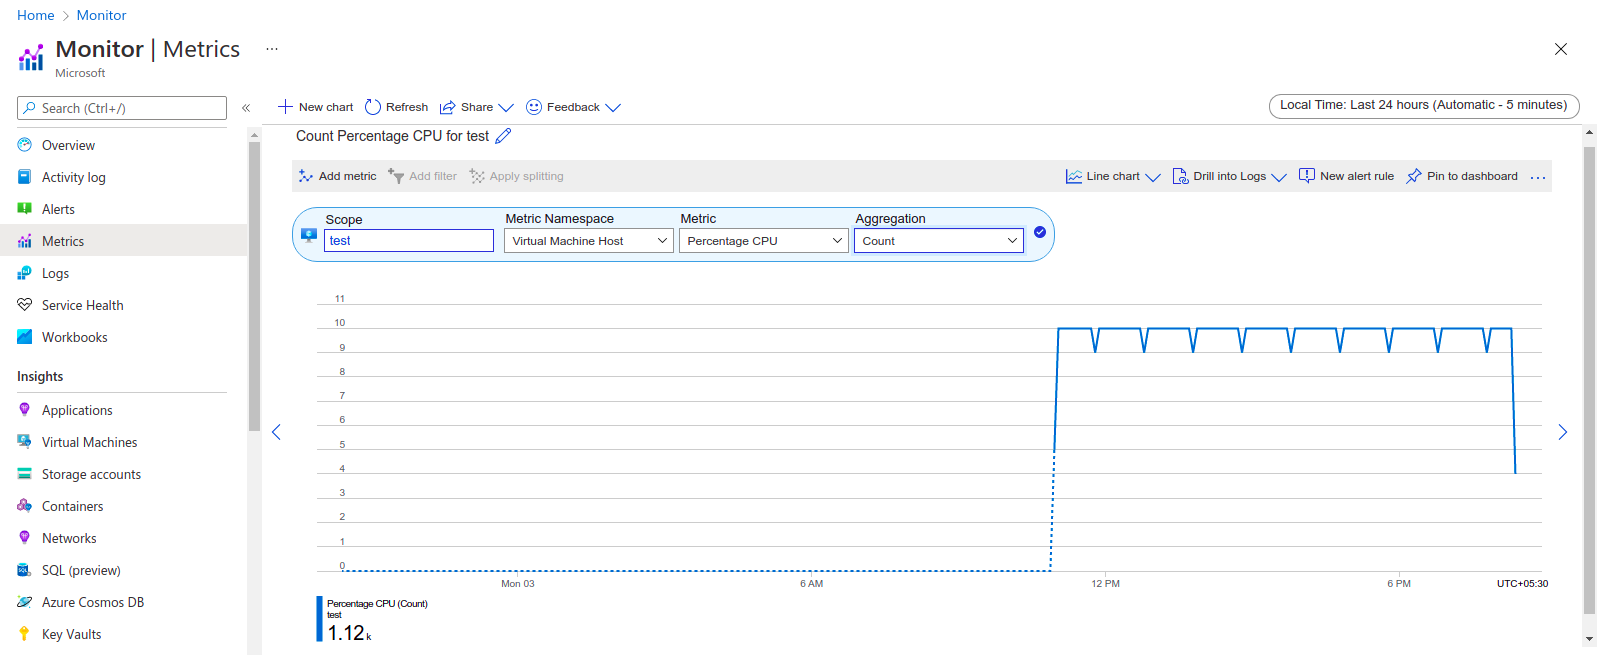
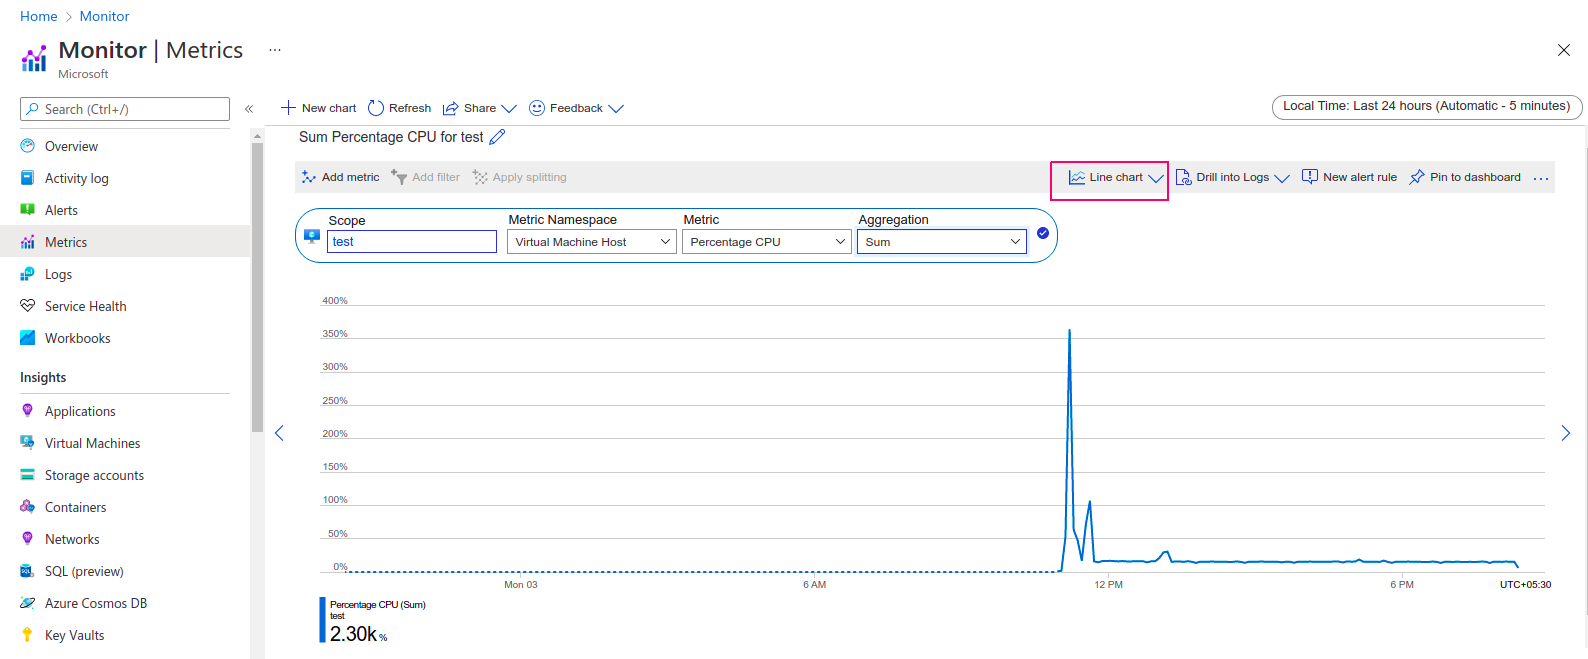
- There are different-different type of chart. By default is Line Chart.
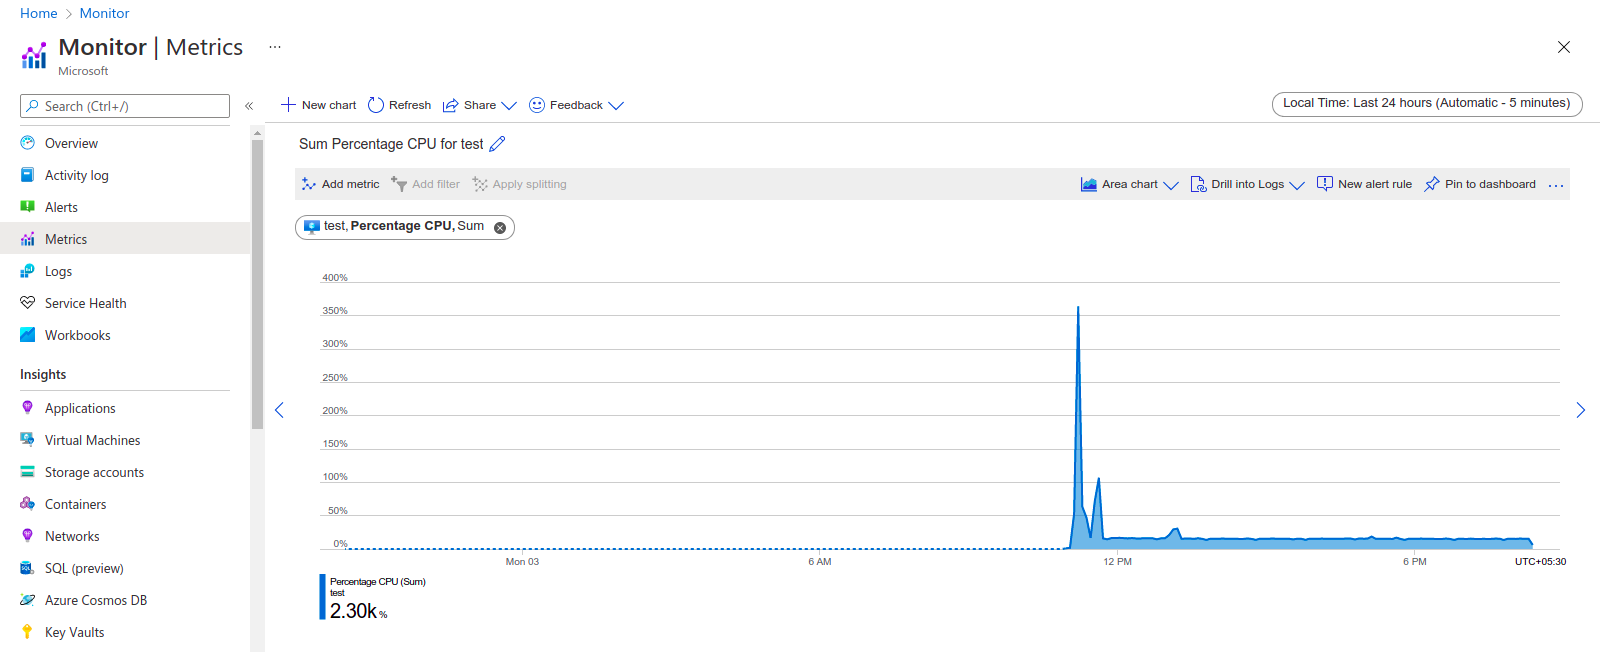
- Select Area Chart.
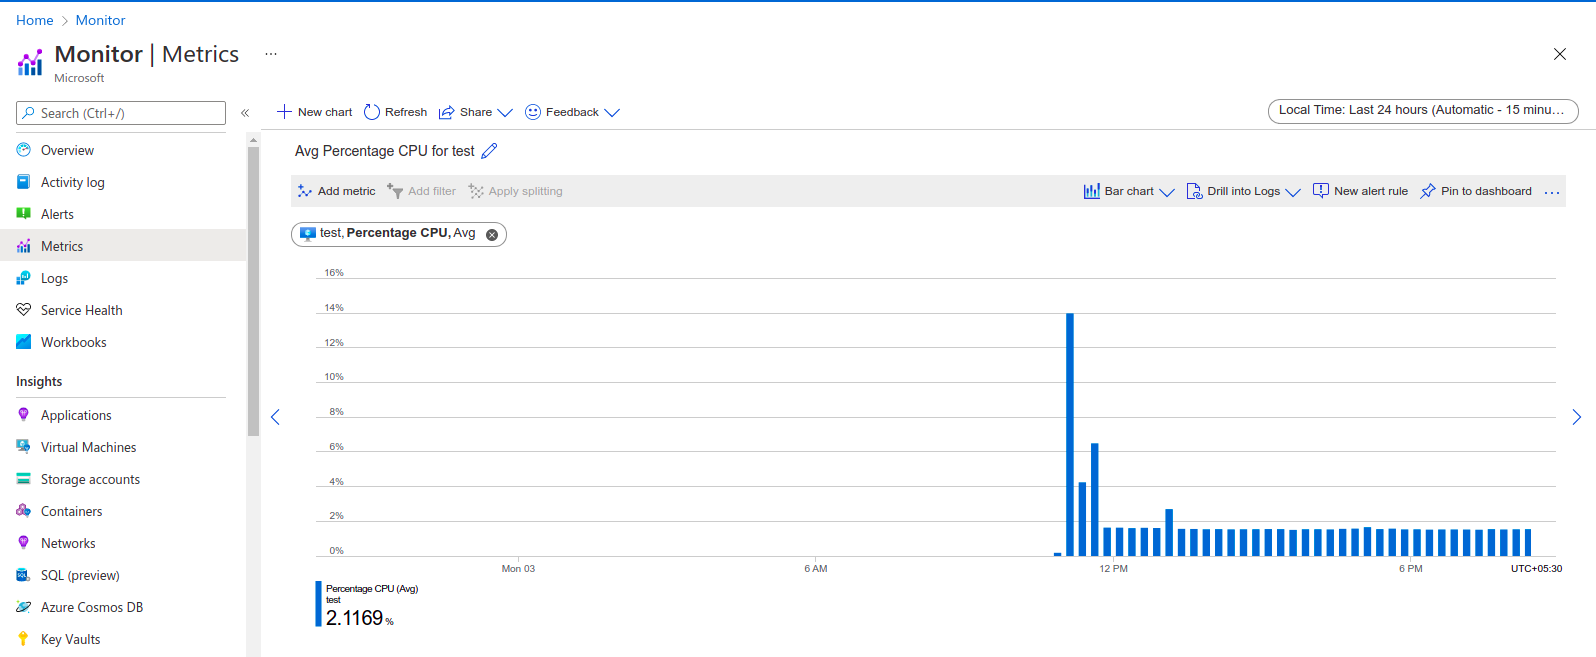
- Select Bar Chart.
- Select Scatter Chart.
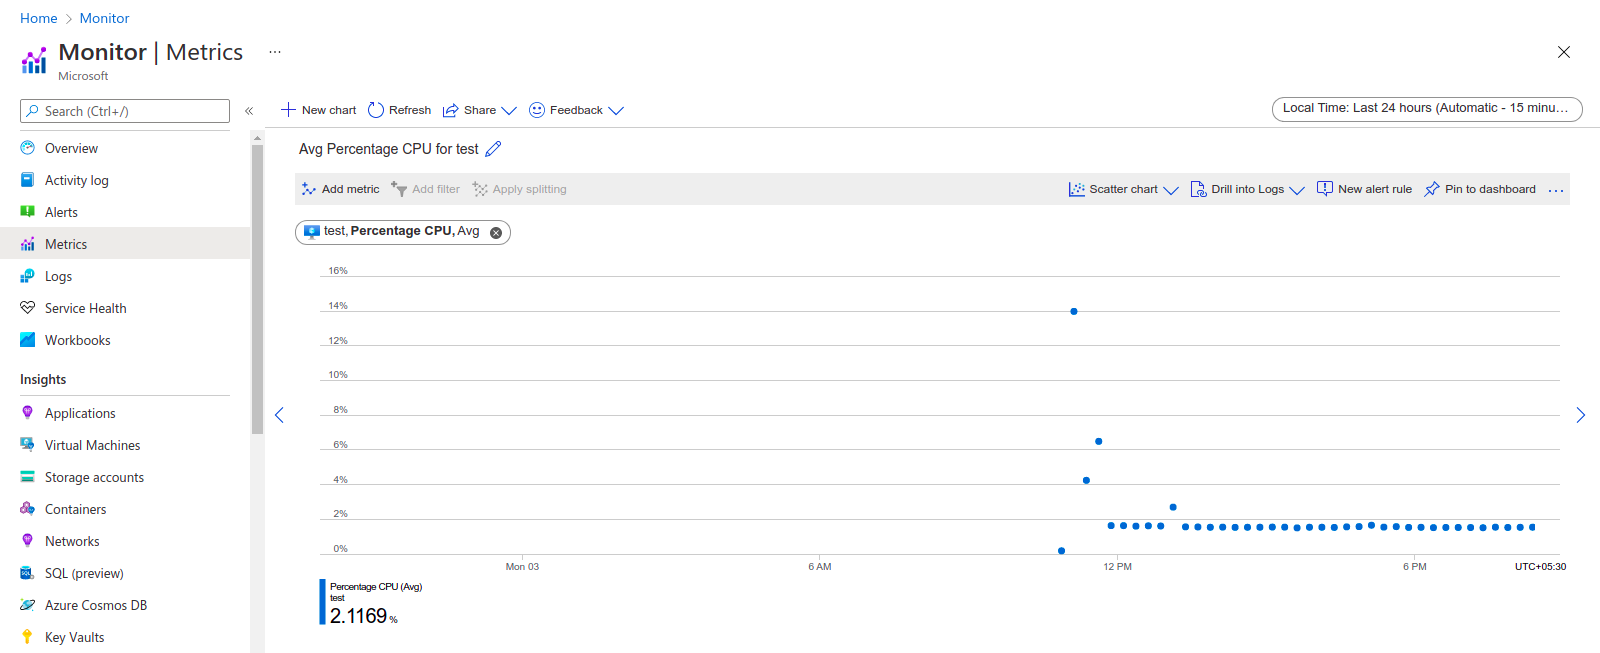
- Select Grid.
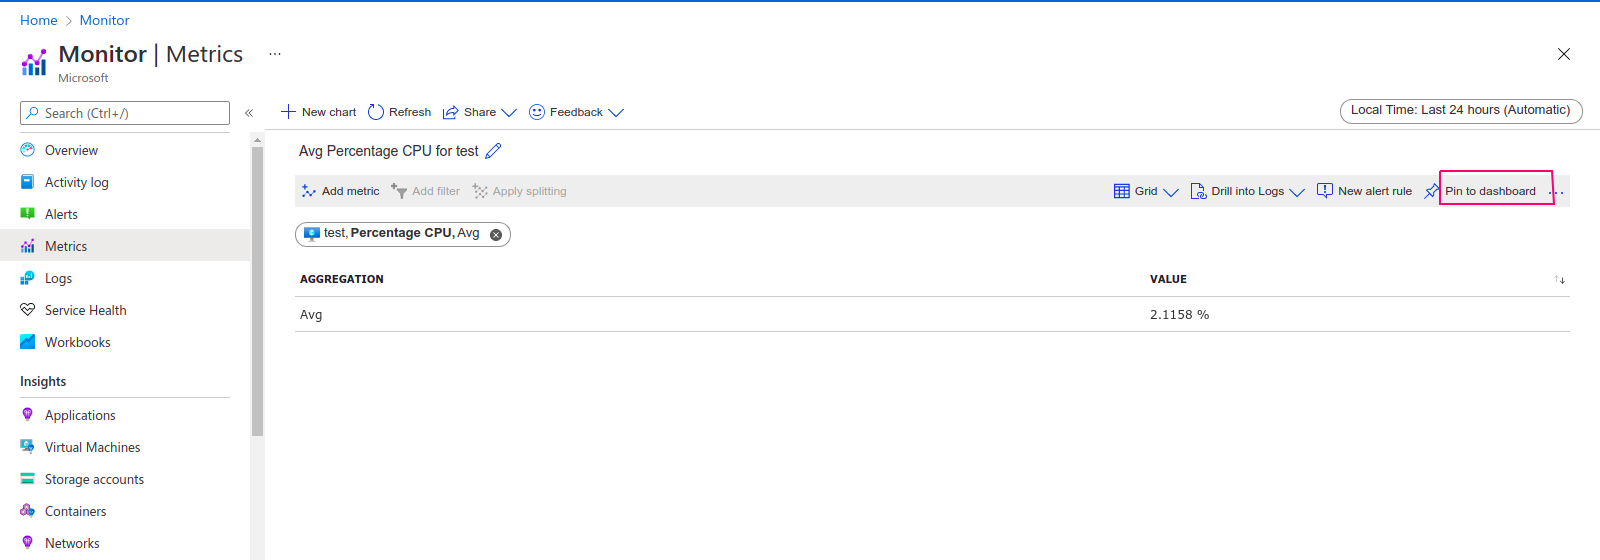
- Next Click on Pin to dashboard.
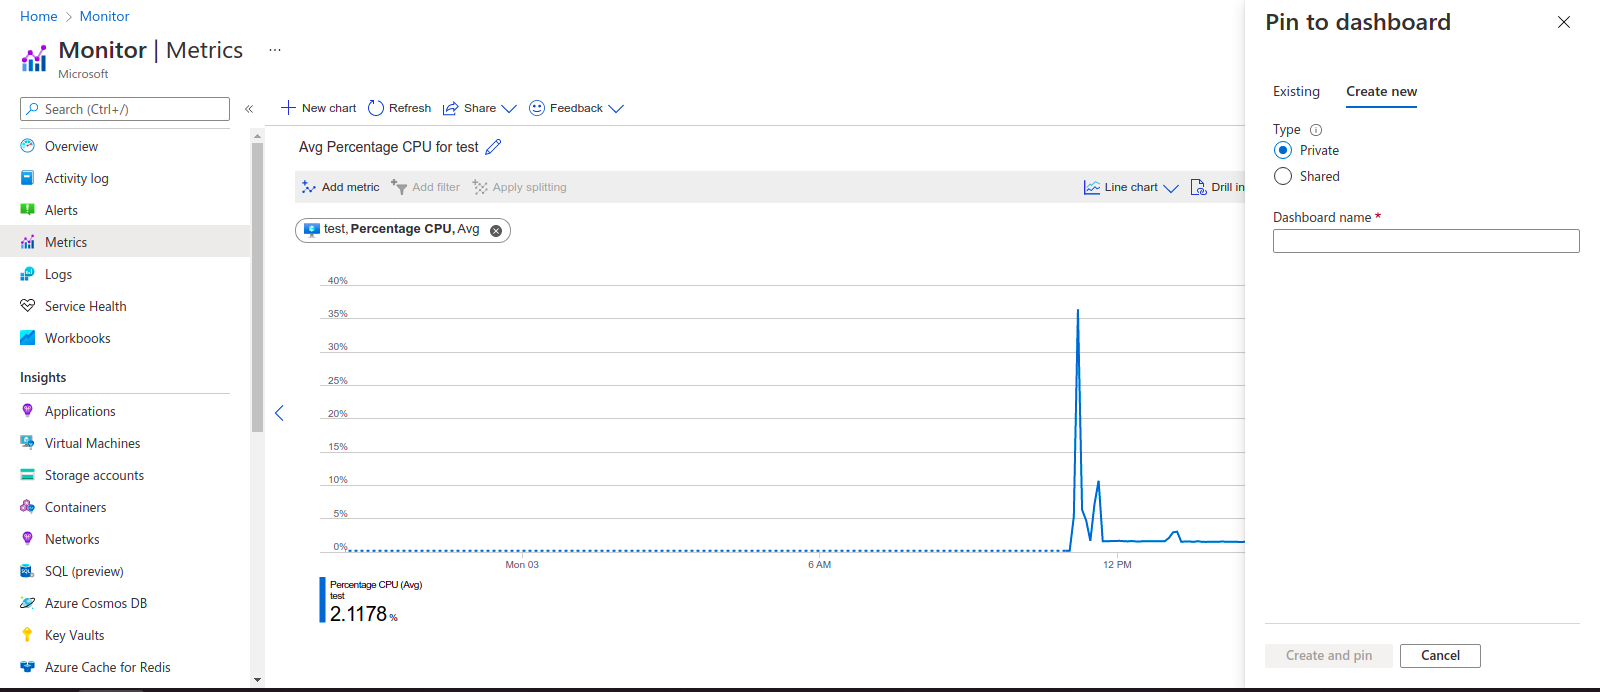
- Create or select existing dashboard name.
- Click on create & pin.
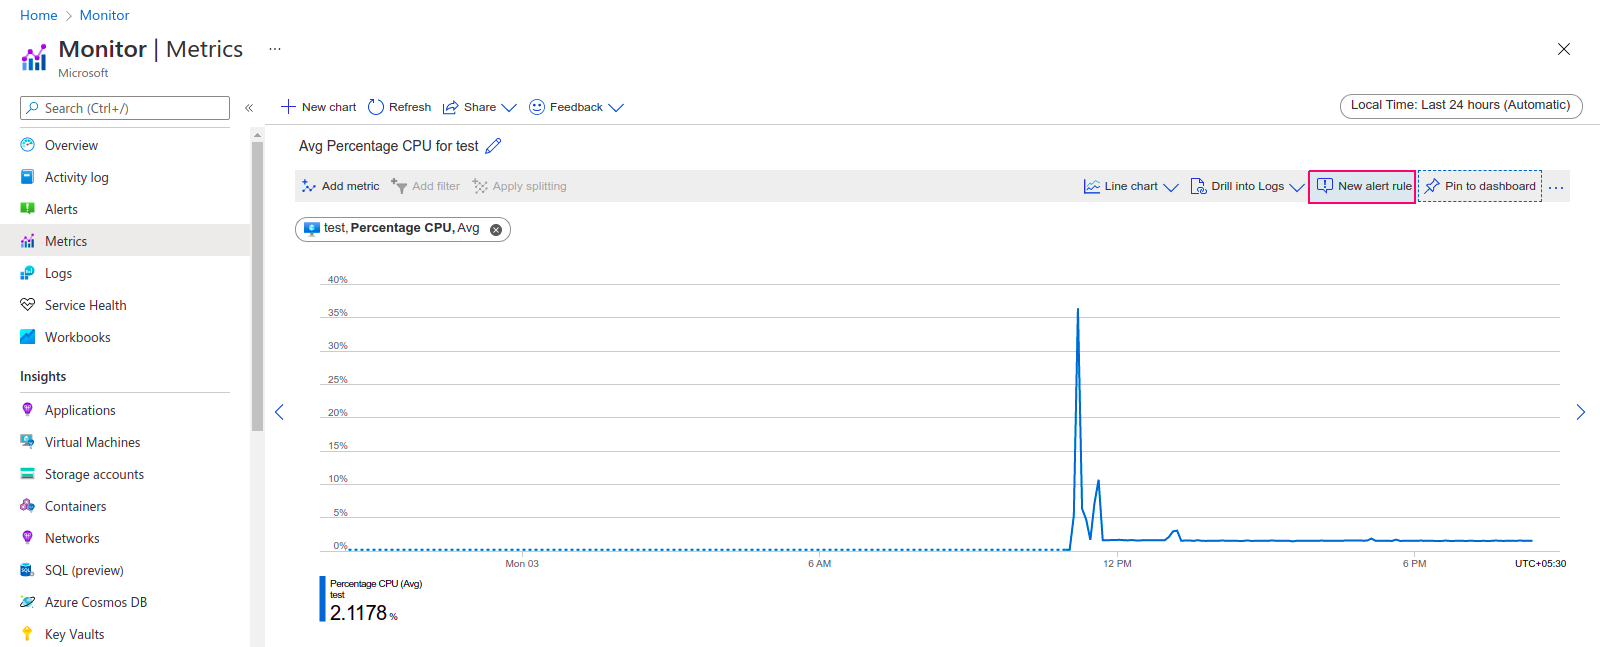
- Next is Alert Rule, Click on New alert rule.
- By default, target resource is selected. If we want to edit the target source so click on Edit resource.
- Next is condition, click on Add condition.
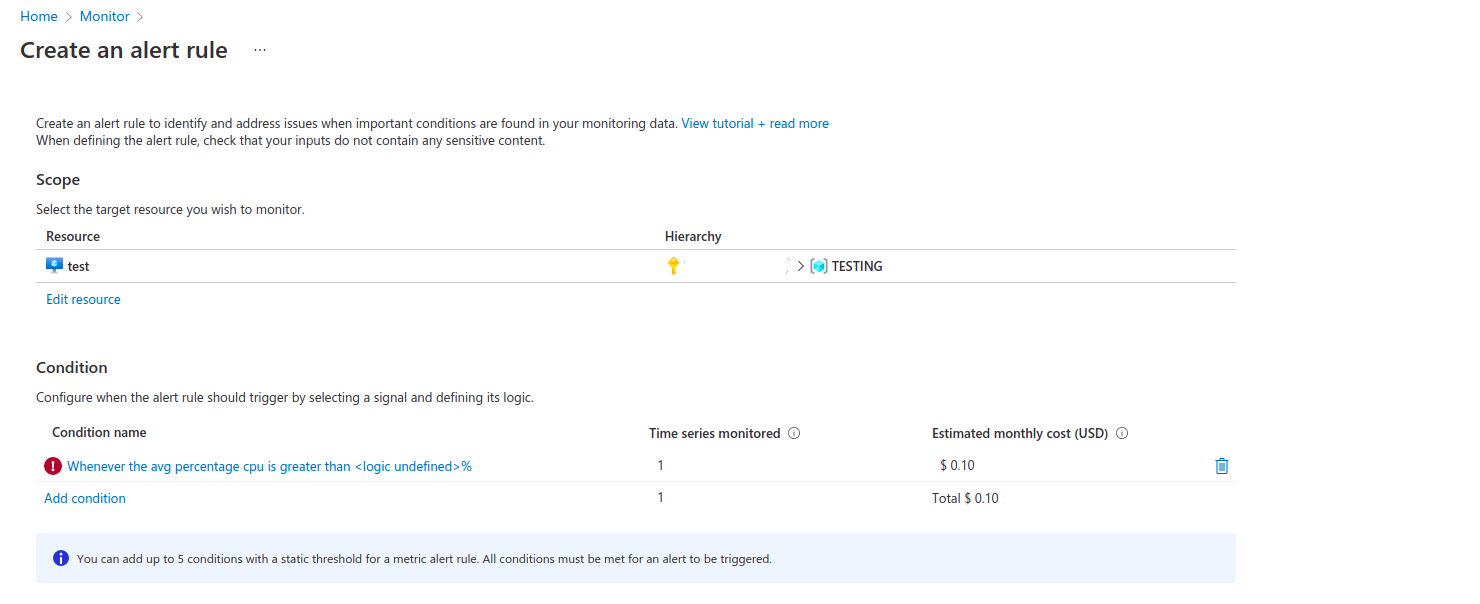
- By default, Signal is selected.
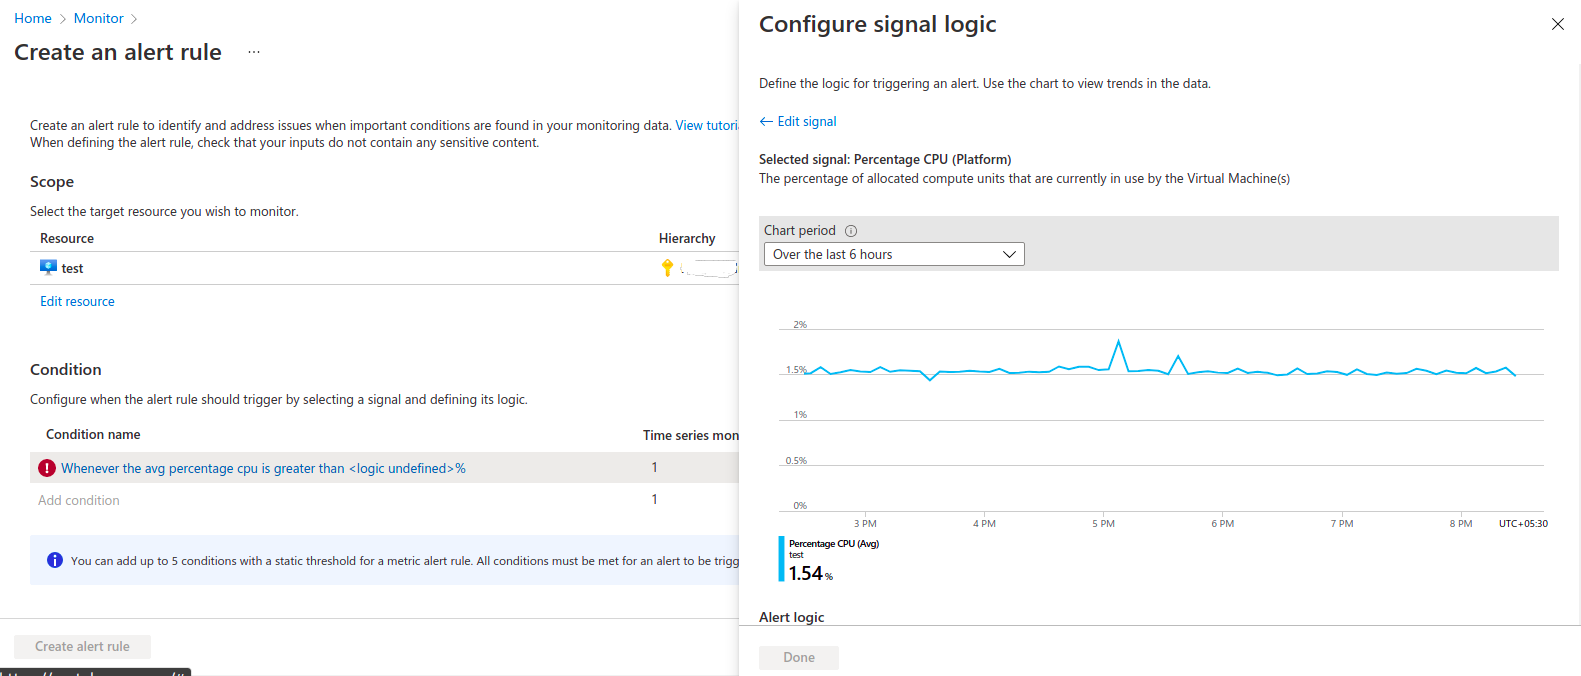
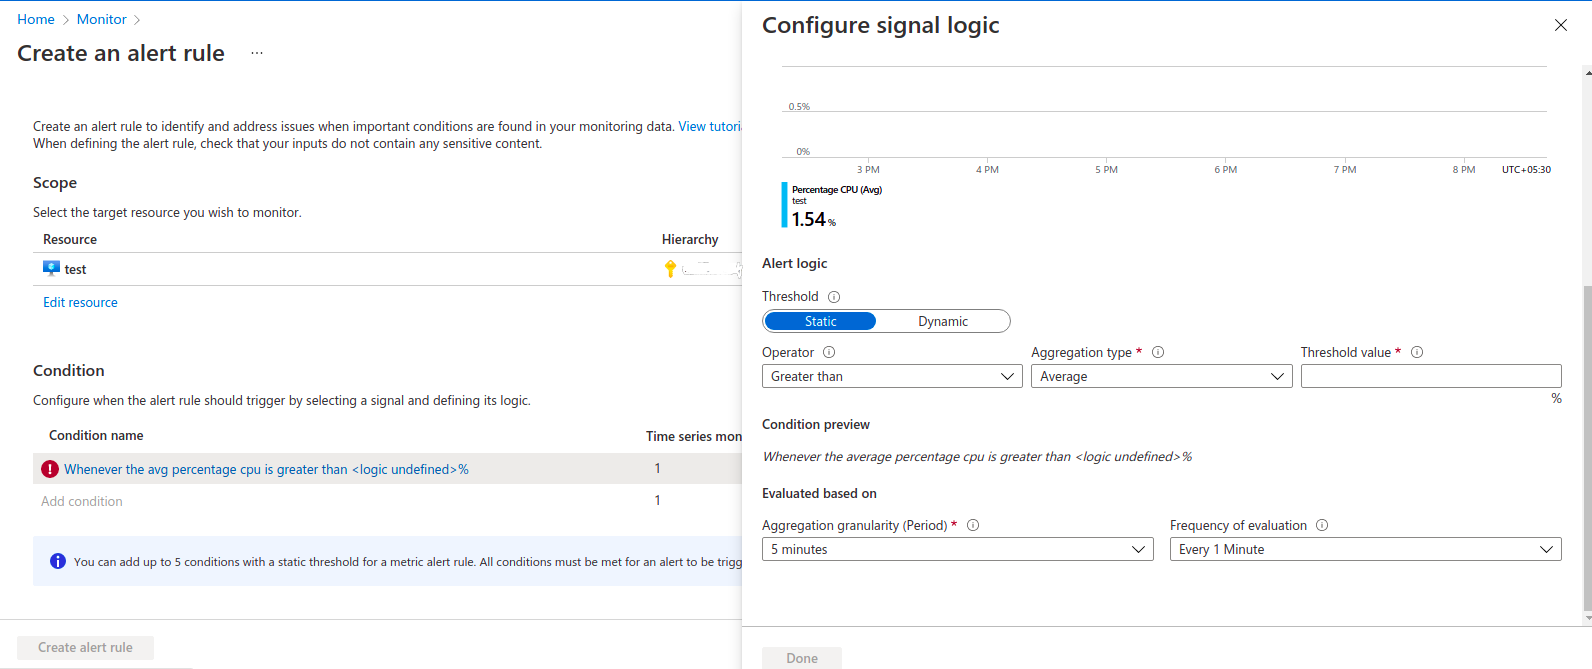
- Now select Static or dynamic threshold.Static threshold uses a user-defined threshold value to evaluate rule, while Dynamic Thresholds uses machine learning algorithms to continuously learn the metric behavior pattern and calculate the thresholds automatically.
- Select Operator,Aggregation type & threshold value.For example: Operator: Greater than,Aggregation type: Average & threshold value:0
- Provide the interval over which datapoints are grouped using the aggregation type function & Select the frequency on how often the alert rule should be run.
- Click on Done.
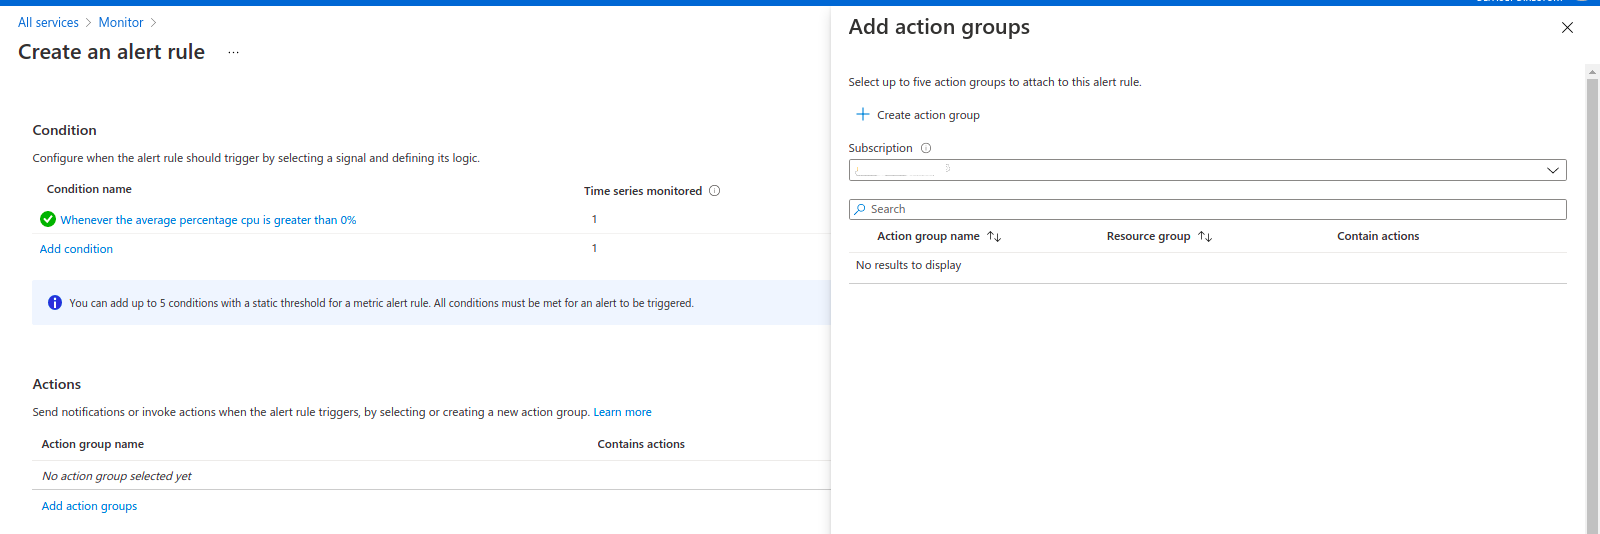
- After that click on Add action groups.

- Click on Create action group.
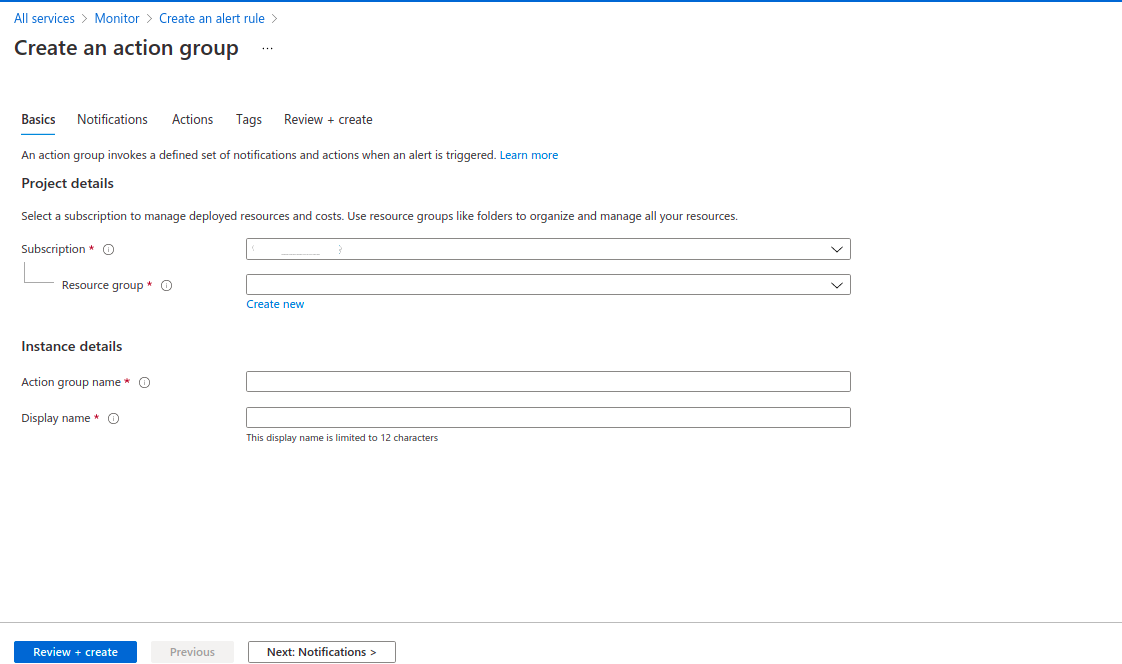
- Provide the subscription id.
- Create or select existing resource group.
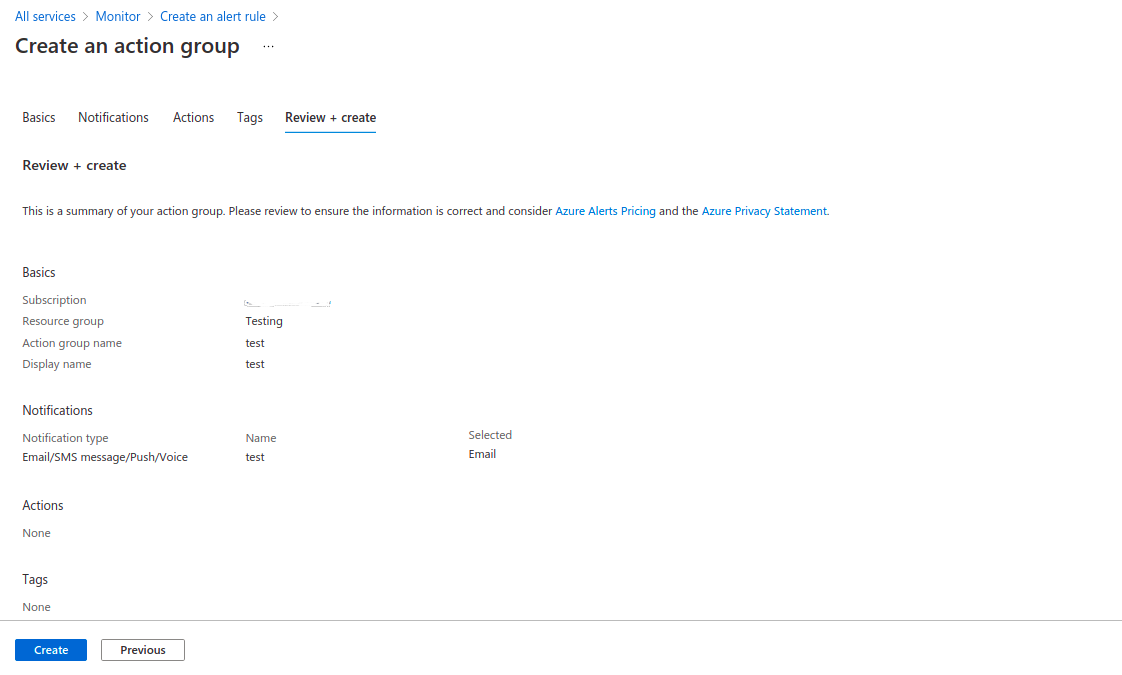
- Provide the action group name & Display-name.
- Click on Next:Notifications.
- Select Notification type : Email/SMS message/push/voice.
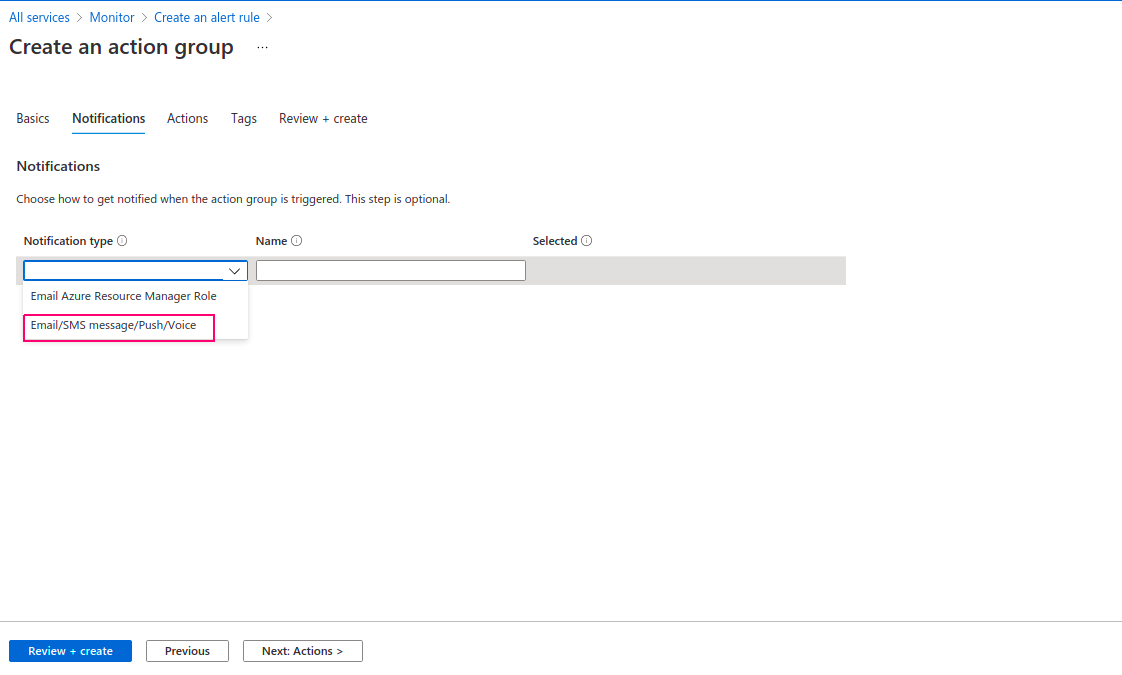
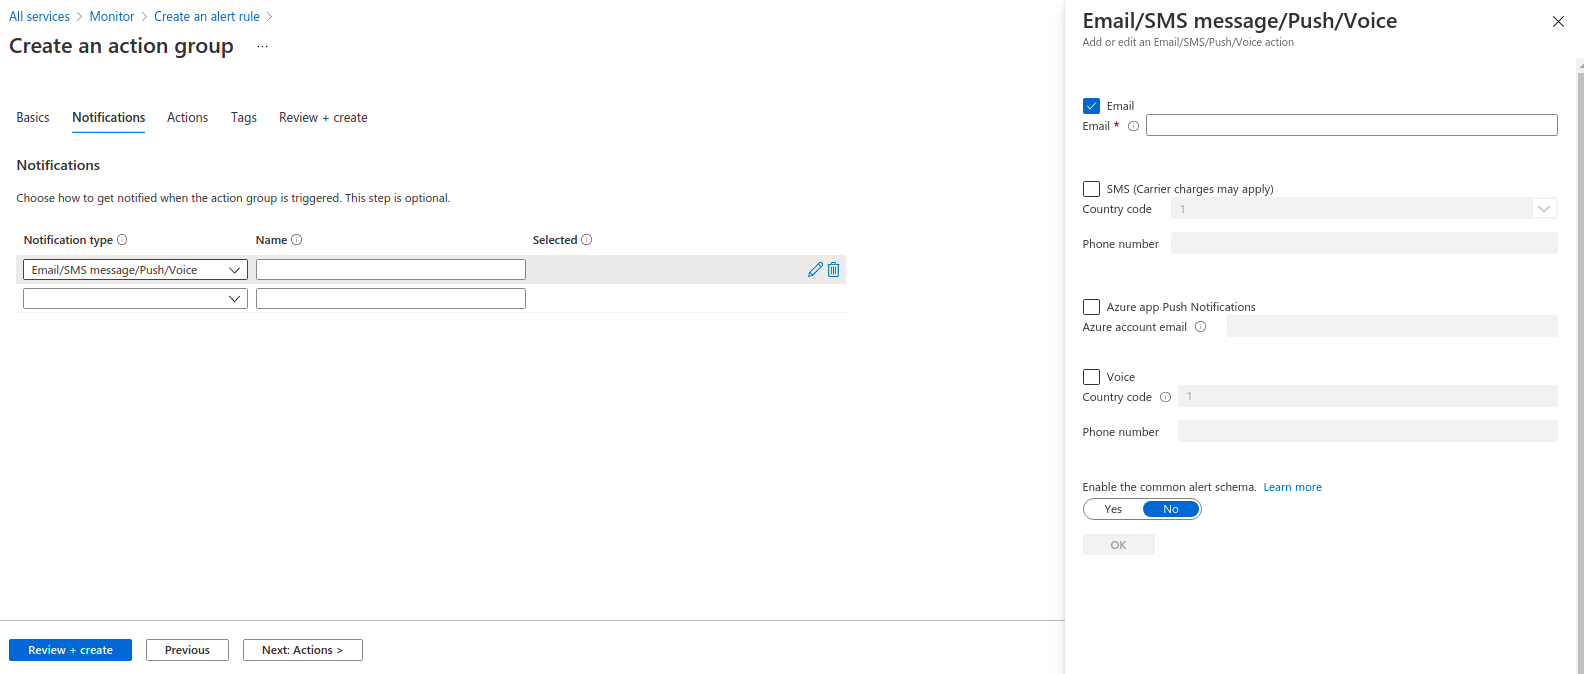
- There are multiple options to send notification such as Email,SMS,Azure app push notification & voice.
- Tick on Email & provide the verified email address.
- Click on OK.
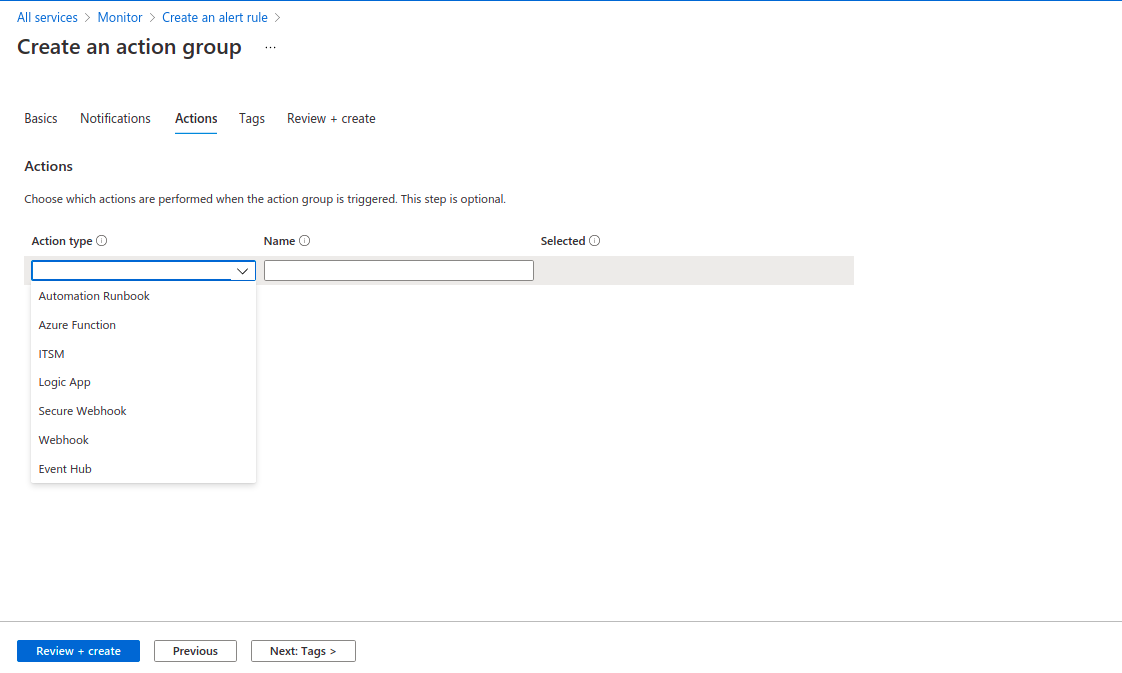
- Next is Actions,if we want to set action type so select any one action type or leave the options.Actions are performed when action group is triggered.
- Click on Next Tags.
- Provide the Key name & value.Click on Next Review+create.
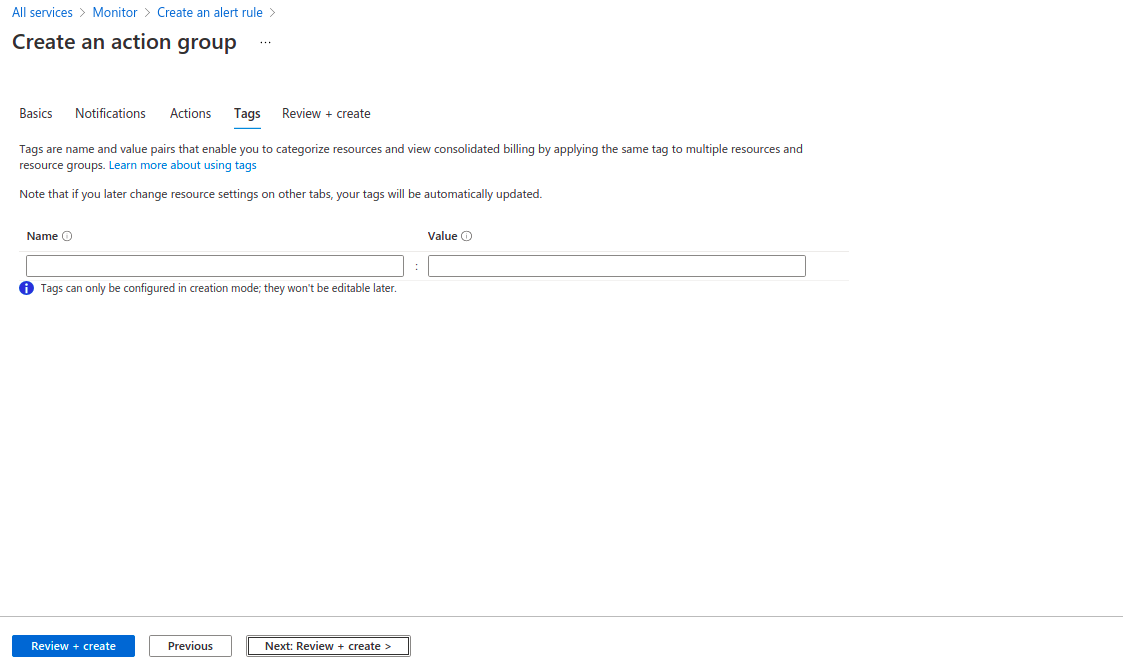
- Click on create.
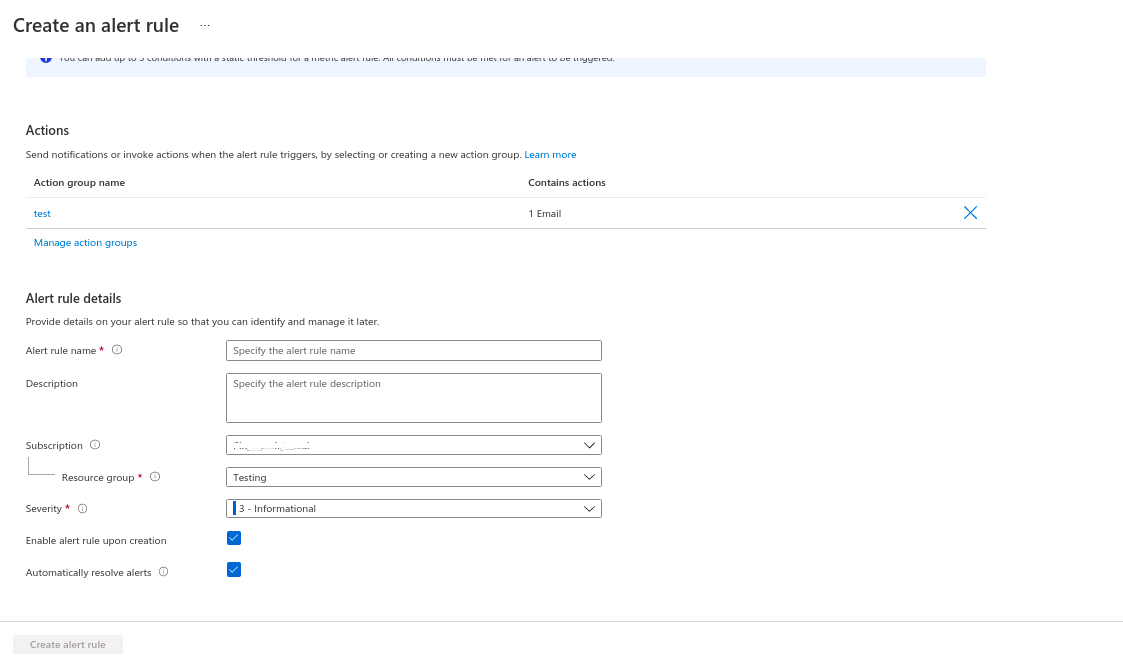
- Next is Alert rule details,provide the alert rule name,alert description,subscription id & resource group.
- Select Severity.For example: Sev 0 = Critical,Sev 1 = Error,Sev 2 = Warning,Sev 3 = Informational,& Sev 4 = Verbose.
- Click on create alert rule.
- After sometime,alert is ready.Go to Alert home page,check the alert rule.

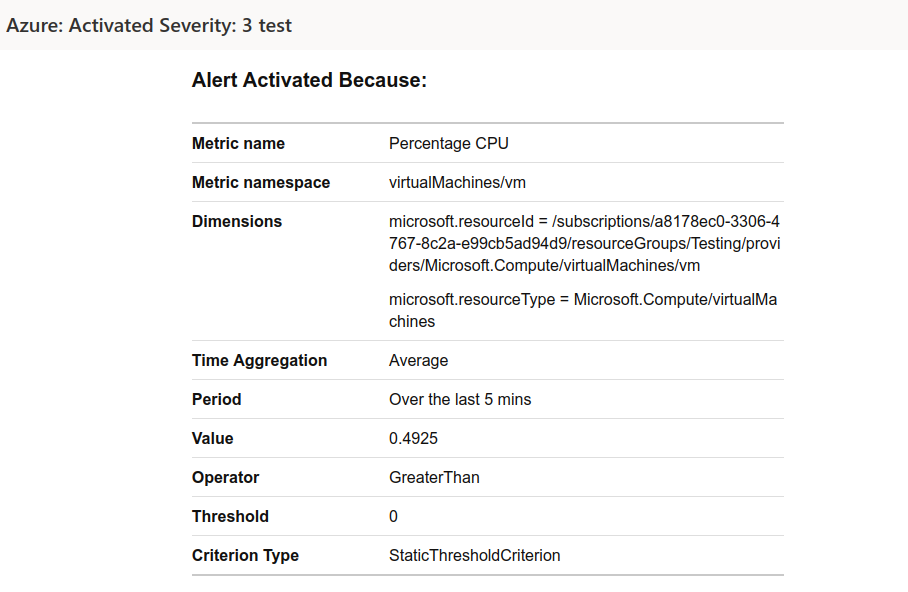
- If Alert is fired then we have received an mail on mentioned mail account.
- Go to mail account & check the alert mail.
- If we want to create a New metric so click on Add Metric.

