Steps to Install Graphite on Ubuntu 20.04 LTS
Graphite is a free & open source monitoring tool. It is used for highly available and with support for data visualization. Using graphite, we can easily store numeric time-series data & it doesn’t collect data by itself. It receives data from other applications.
Graphite contains three software components:
carbon – It is a Twisted daemon that listens for time-series data.
whisper – It is a simple database library & used for storing time-series data.
graphite webapp – It is a Django webapp that renders graphs on-demand using Cairo.
Prerequisites:
- Ubuntu system with Sudo Privileges.
There are some steps to Setup Graphite on Ubuntu:
Step 1: Update the System.
apt-get update
Step 2: Install Docker.
apt install docker.io
- Start & Enable the docker.
systemctl start docker

&&

systemctl enable docker
- Check the status of docker.
systemctl status docker
- Here is the command output.

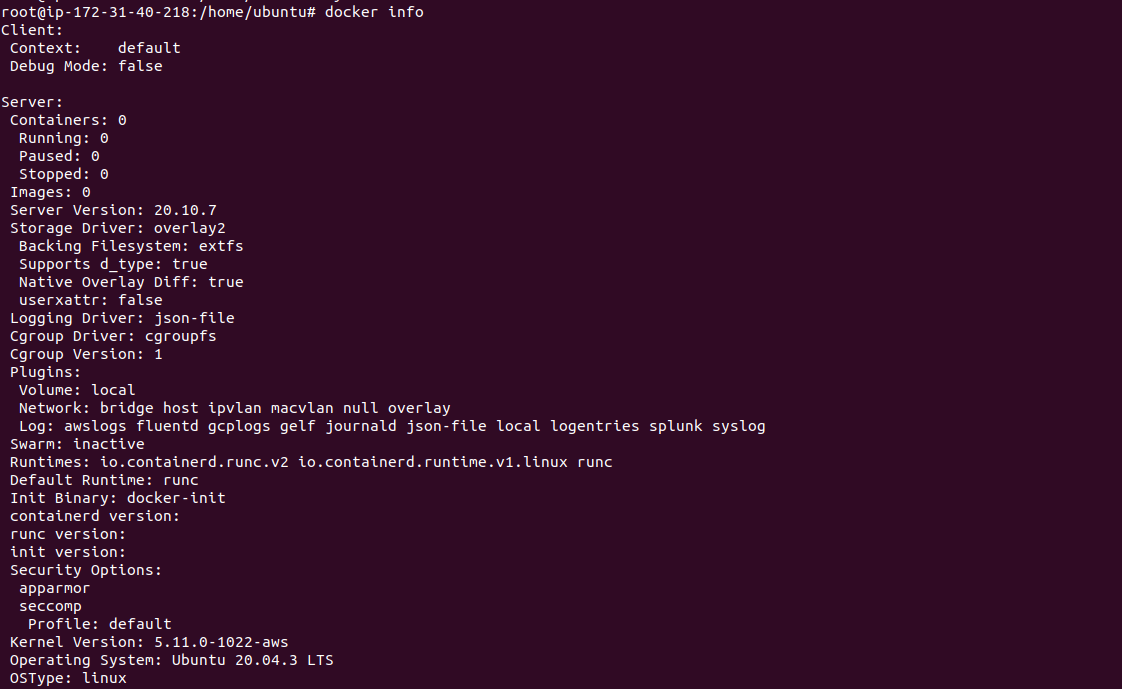
- To display the docker information.
docker info
- Here is the command output.
Step 3: Download the Graphite using docker.
docker pull graphiteapp/graphite-statsd
- Here is the command output.

- List the docker images.
docker images
- Here is the command output.

- Create the directories.
mkdir -p /data/graphite/{data,logs,conf,statsd_config}
- Open the following port numbers.

Step 4: Run the Graphite image.
docker run -d \

--name graphite \

--restart=always \

-p 80:80 \

-p 2003-2004:2003-2004 \

-p 2023-2024:2023-2024 \

-p 8125:8125/udp \

-p 8126:8126 \

-v /data/graphite/data:/opt/graphite/storage \

-v /data/graphite/conf:/opt/graphite/conf \

-v /data/graphite/statsd_config:/opt/statsd/config \

-v /data/graphite/logs:/var/log \

-e GRAPHITE_TIME_ZONE='Africa/Nairobi' \

graphiteapp/graphite-statsd
- Here is the command output.

- Check running container.
docker ps
- Here is the command output.

- Check Graphite logs.
docker logs -f graphite
- Here is the command output.

Step 5: Open Graphite web interface.
http://server-ip
- Here is the output.
As soon as Graphite receives data it can create graphs in the webapp.
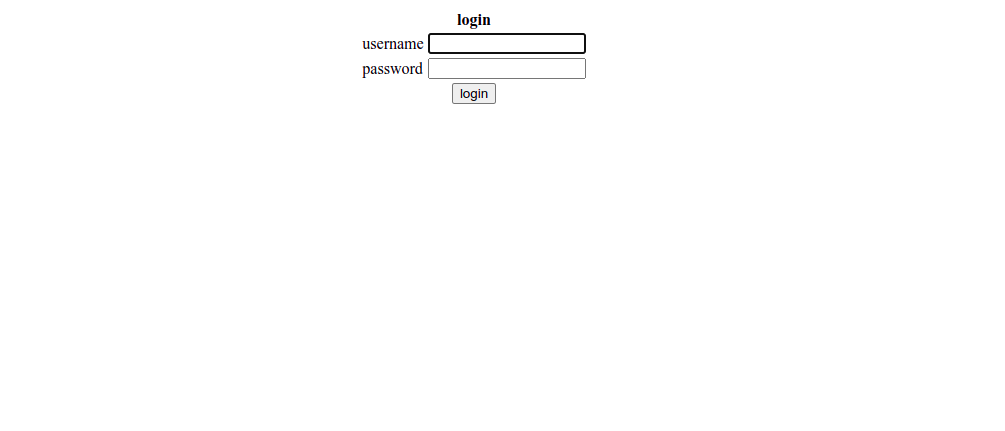
- Click on Login option.
- By default,Username & Password: root
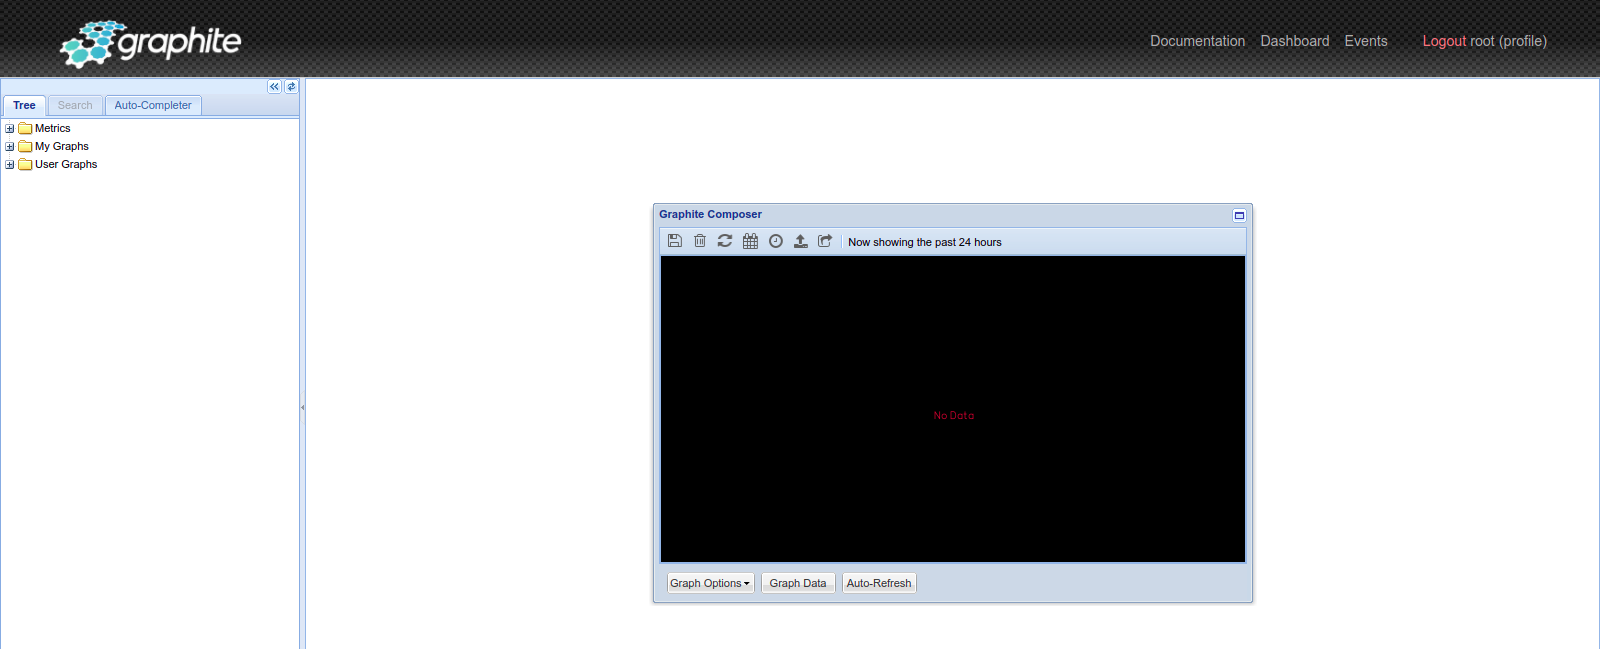
- Graphite is Ready.
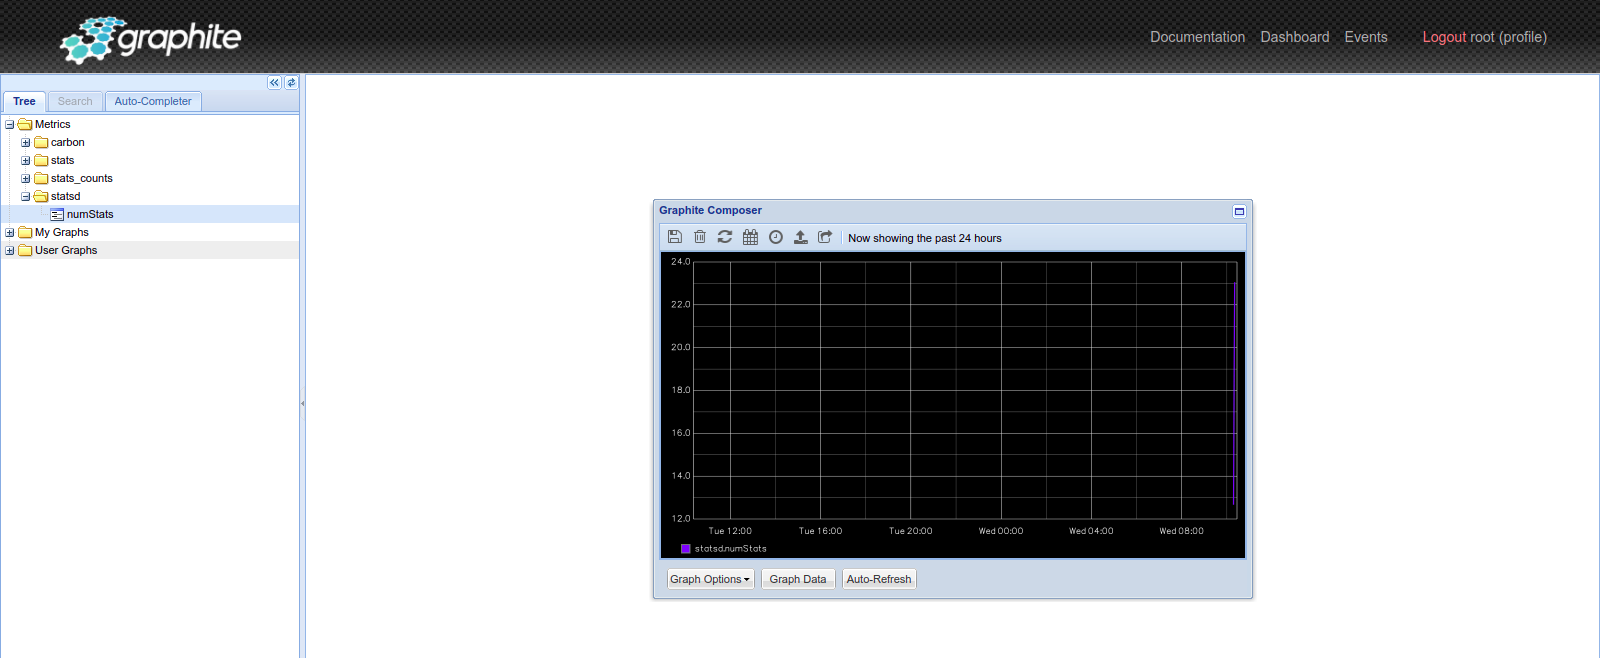
- In left corner,Click on Metrics–>statsd–>numStats.
- Now Graph is ready.
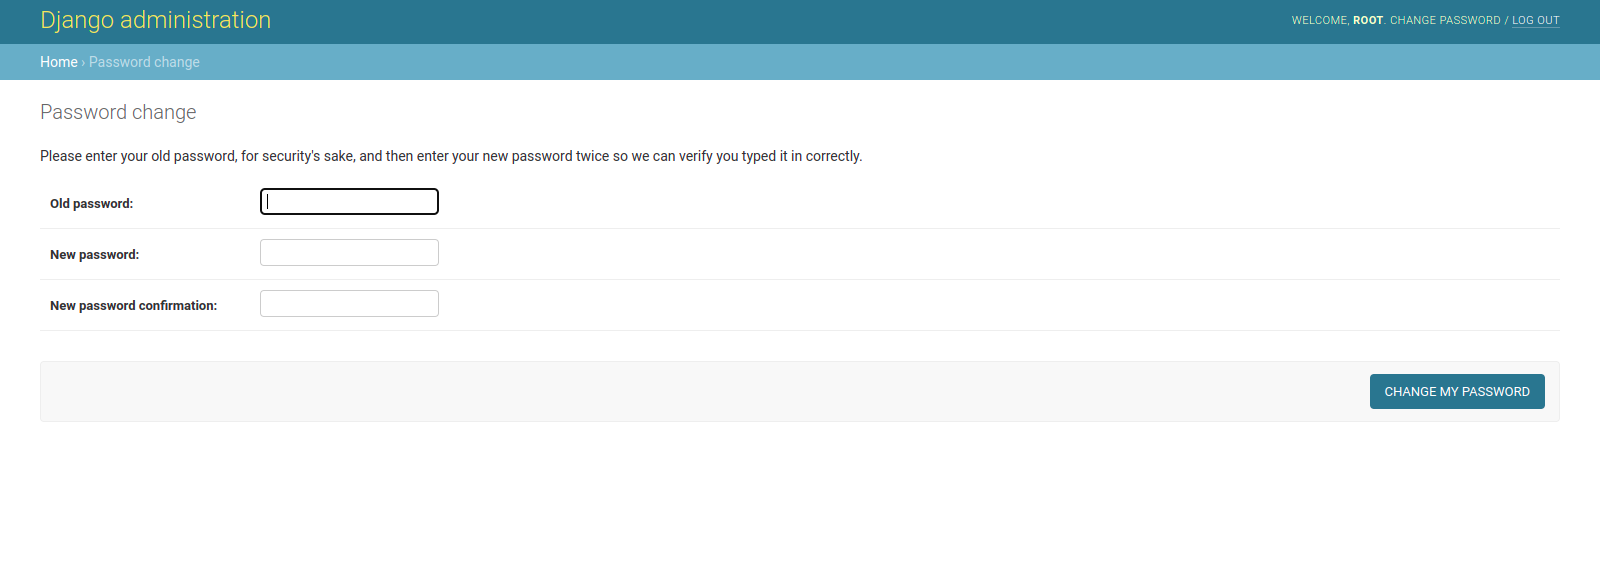
- Change the password of Graphite.
- Open the following URL.
http://server-ip/admin/password_change/
- Here is the output.
- Provide the Old & New password.
- Click on Change My Password.
- Password was changed successfully.

Step 6: Manage/Configure the Graphite container.
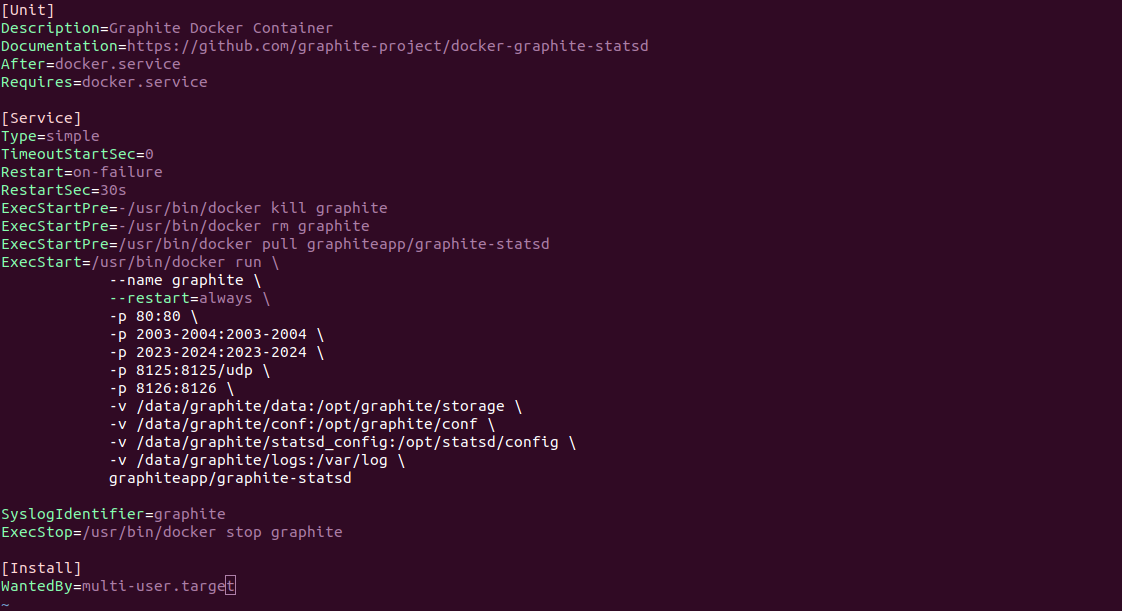
- Create a graphite-docker.service file.
vim /etc/systemd/system/graphite-docker.service
- Add the following lines:
[Unit]

Description=Graphite Docker Container

Documentation=https://github.com/graphite-project/docker-graphite-statsd

After=docker.service

Requires=docker.service

[Service]

Type=simple

TimeoutStartSec=0

Restart=on-failure

RestartSec=30s

ExecStartPre=-/usr/bin/docker kill graphite

ExecStartPre=-/usr/bin/docker rm graphite

ExecStartPre=/usr/bin/docker pull graphiteapp/graphite-statsd

ExecStart=/usr/bin/docker run \

--name graphite \

--restart=always \

-p 80:80 \

-p 2003-2004:2003-2004 \

-p 2023-2024:2023-2024 \

-p 8125:8125/udp \

-p 8126:8126 \

-v /data/graphite/data:/opt/graphite/storage \

-v /data/graphite/conf:/opt/graphite/conf \

-v /data/graphite/statsd_config:/opt/statsd/config \

-v /data/graphite/logs:/var/log \

graphiteapp/graphite-statsd

SyslogIdentifier=graphite

ExecStop=/usr/bin/docker stop graphite

[Install]

WantedBy=multi-user.target
- Here is the command output.
- Reload the systemd service.
systemctl daemon-reload
- To list the created file.
systemctl list-unit-files graphite-docker.service
- Here is the command output.

- Enable the service.
systemctl enable graphite-docker
- Now,kill the running container.
docker rm -f graphite
- List the docker container.
docker ps
- Here is the command output.

- Start the graphite-docker service.
systemctl start graphite-docker.service
- Check service status.
systemctl status graphite-docker.service
- Here is the command output.

- Again,Check the docker container.
docker ps
- Here is the command output.

