 shivani singh
- July 18, 2022
Steps to Install & Configure Windows Containers on Window Server 2019 Base
Hello,In this blog we are installing & configure Window Containers on window server 2019 Base.Using Windows PowerShell,we can easily to develop, deploy, and manage the Windows-based containers.
There are some steps to install & configure Windows Containers on Window Server 2019 Base:
To Install Containers Feature on window server 2019 base
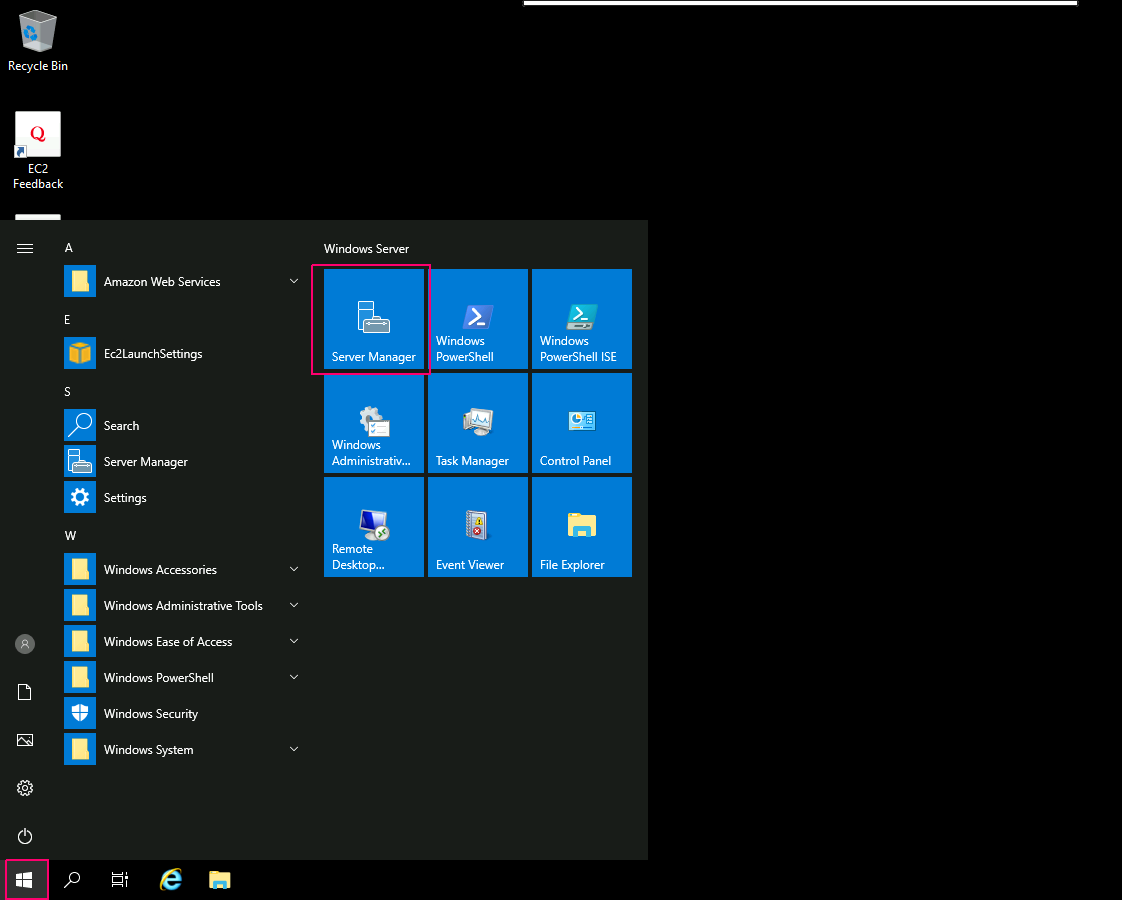
- Login to window server 2019 base.

- Click on Start Button then click on Server Manager.
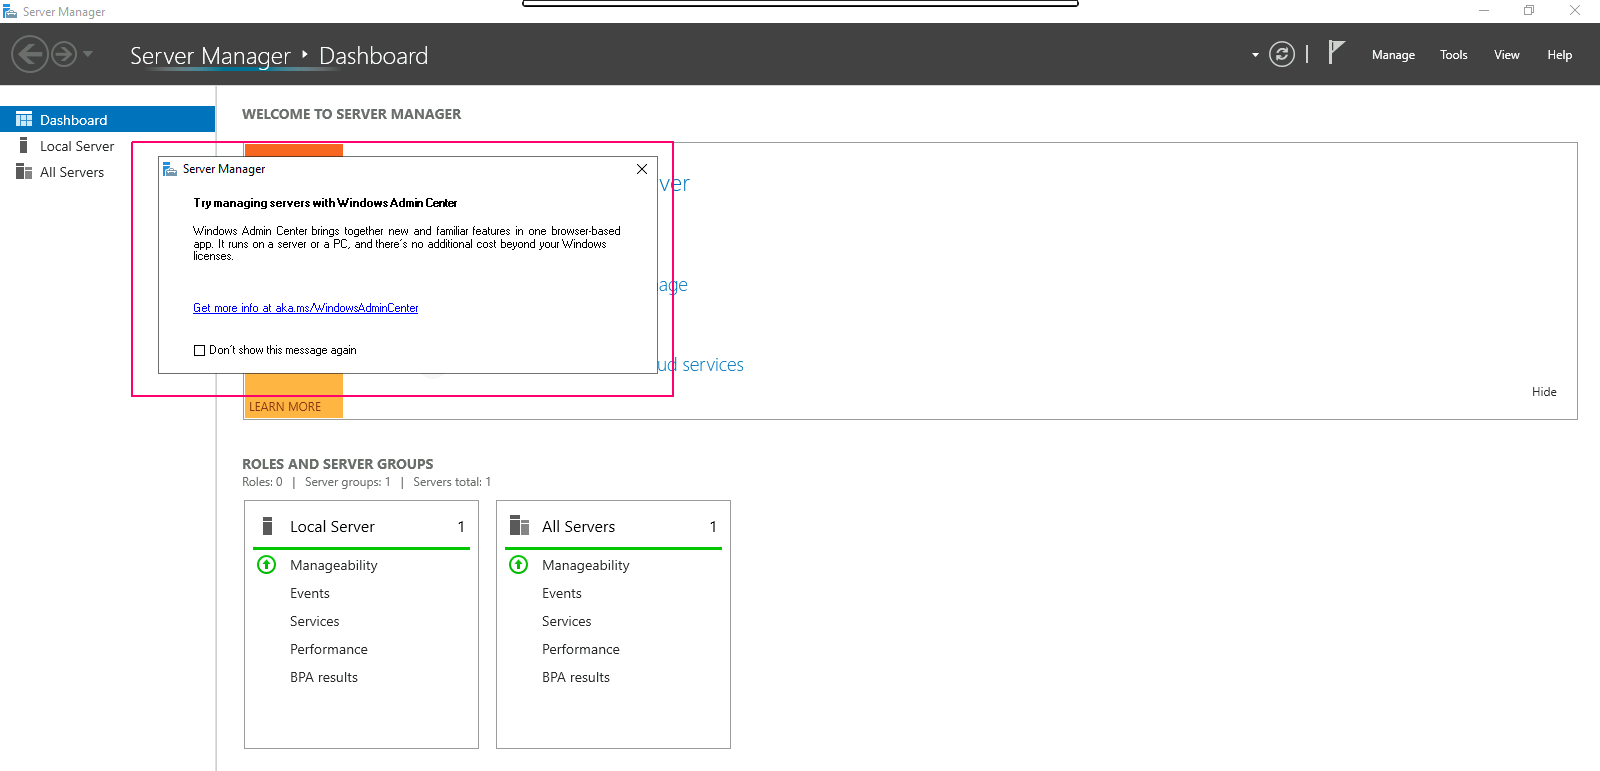
- Close the open wizard.
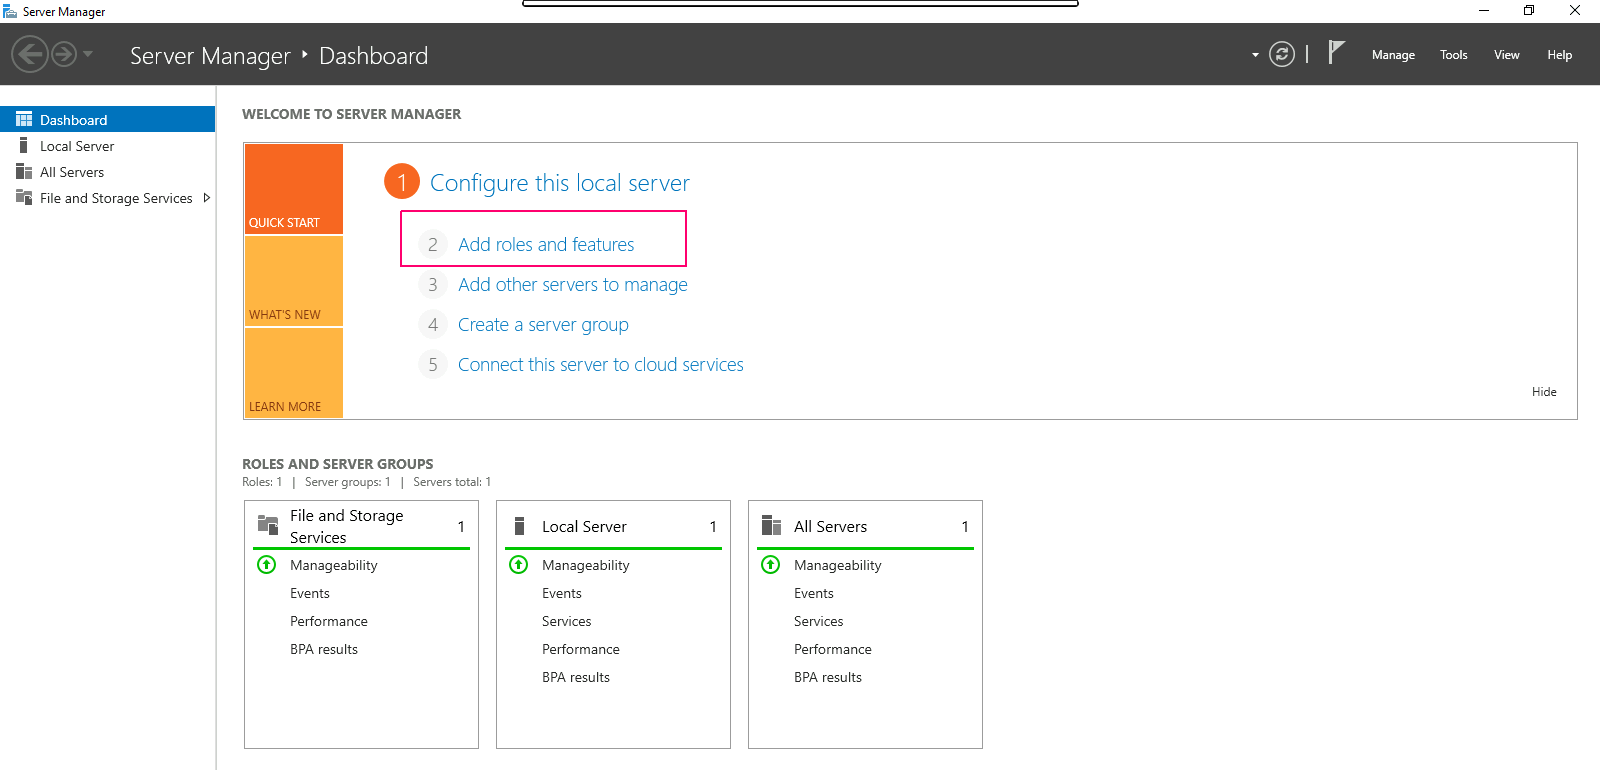
- Click on Add Roles & Features.
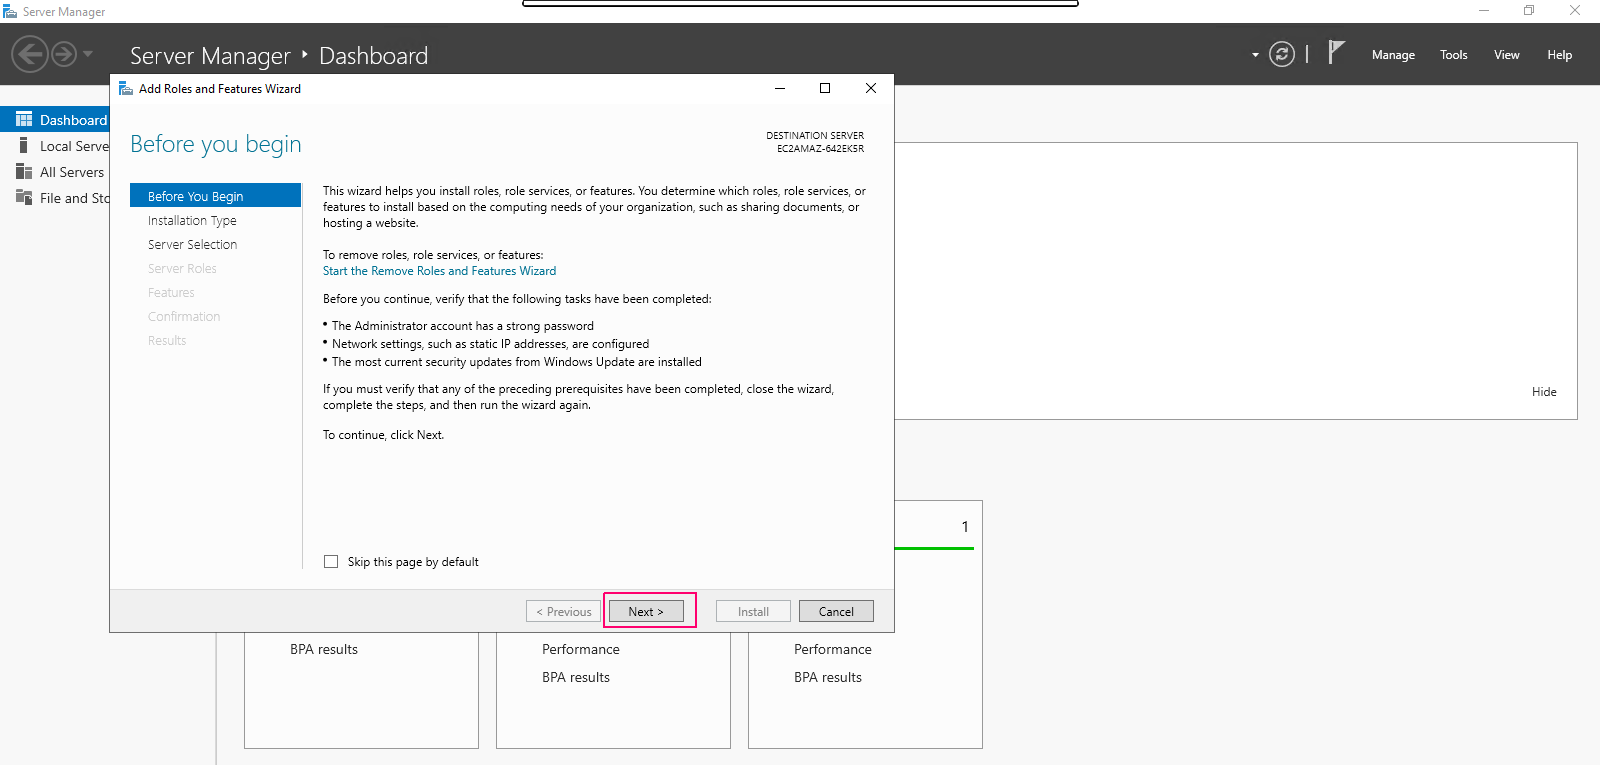
- In the Before you begin page,this wizard helps you install roles,features & role services.Click on Next.
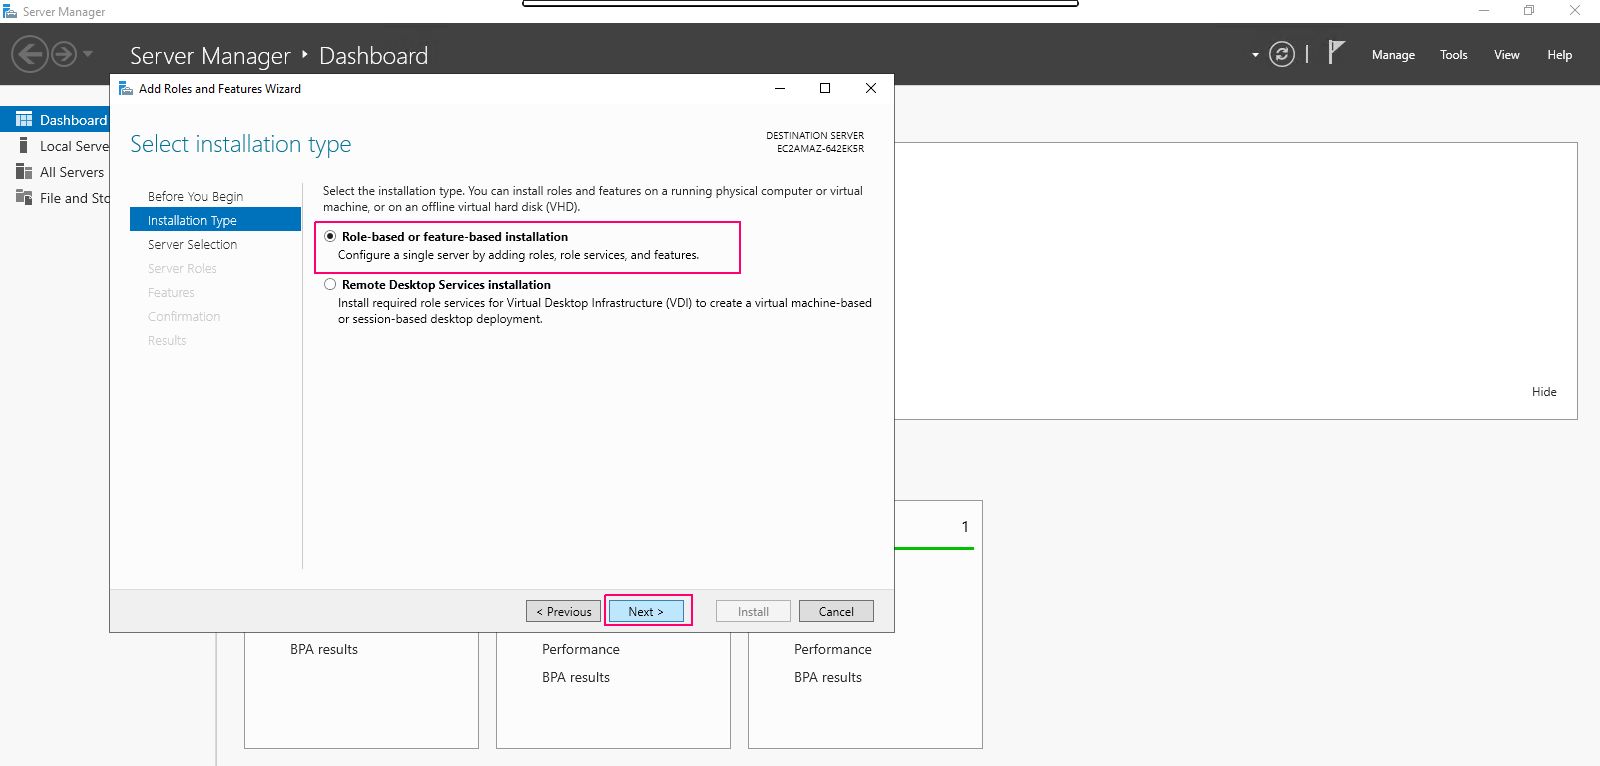
- In Installation type page,Select Role-based or Feature-based installation.Click on Next.
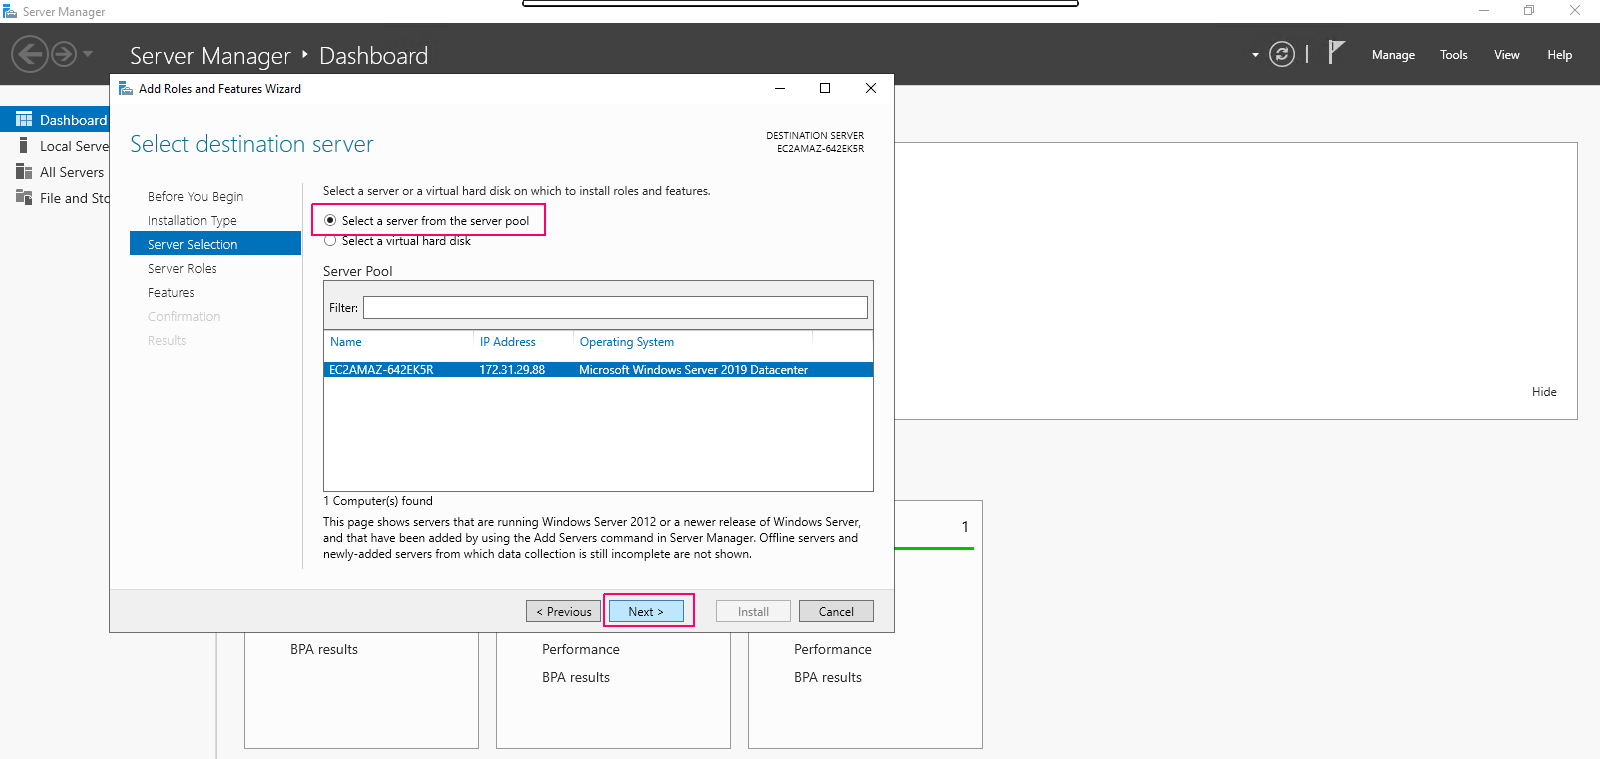
- In Server Selection page,select “select a server from the server pool”. Click on Next.
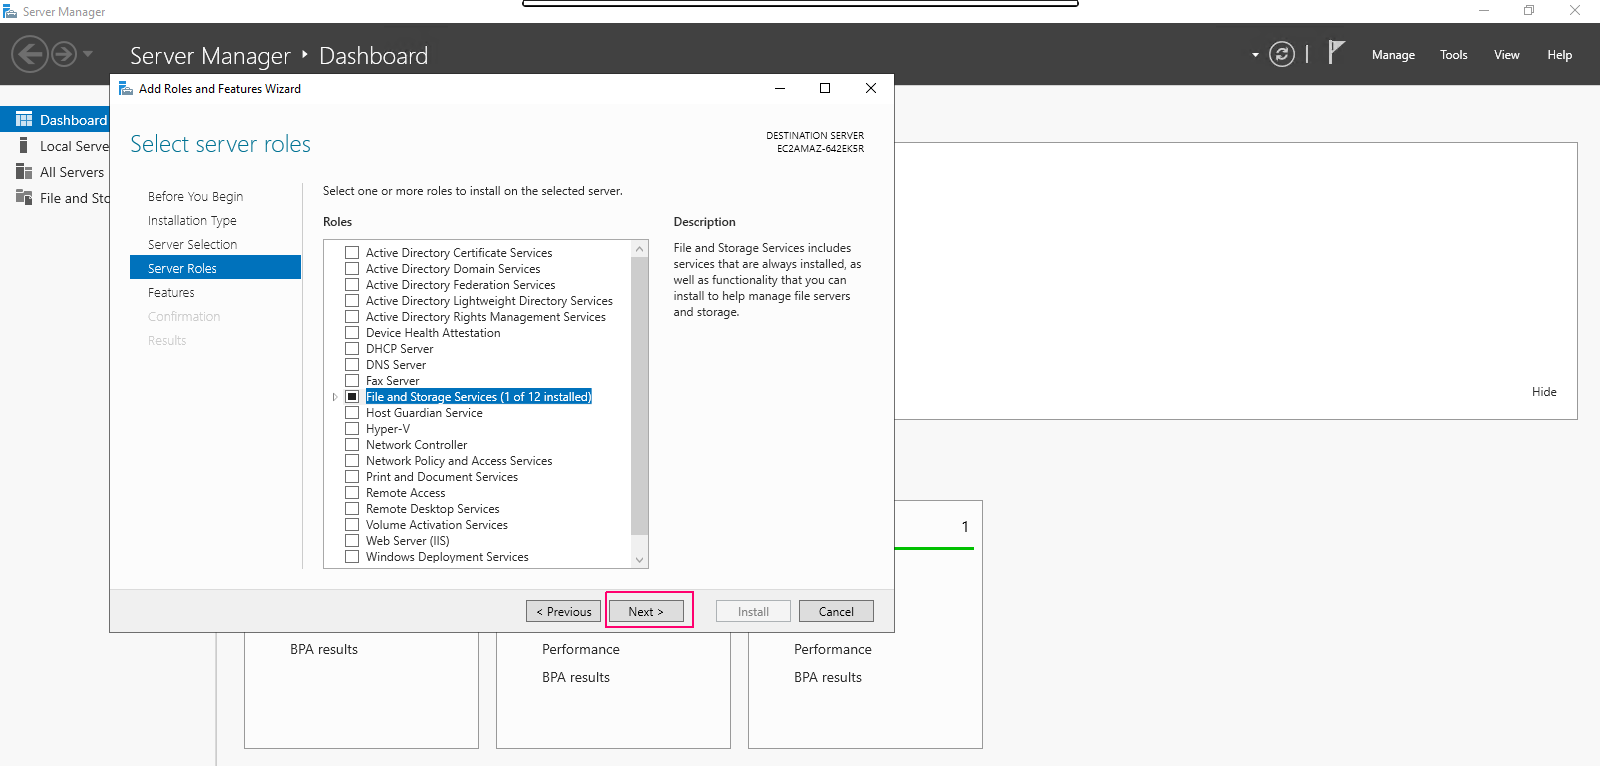
- In Server Roles page, No need to add role,click on Next.
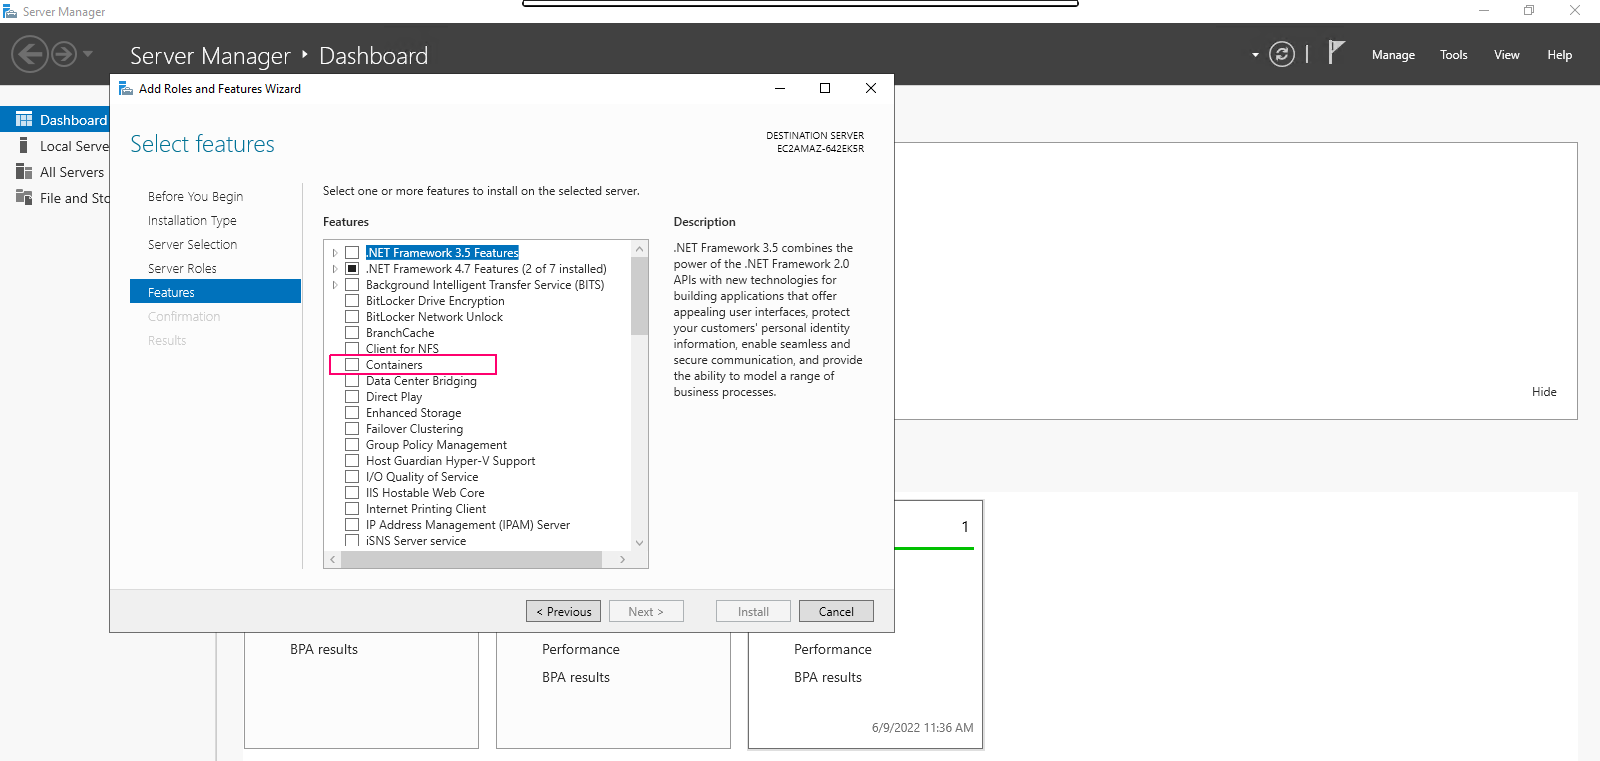
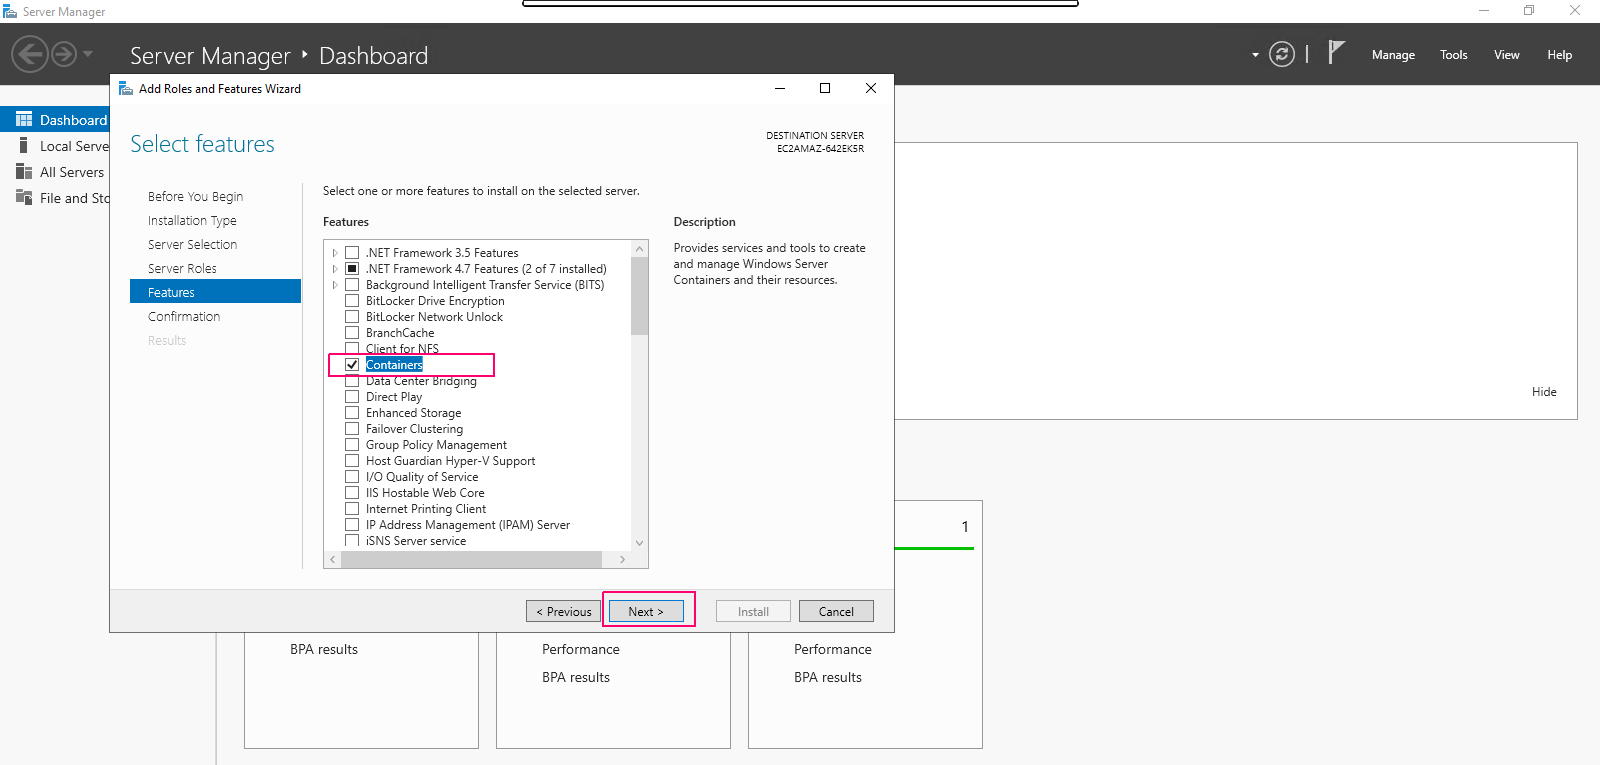
- In Features page,select “Containers” features.Click on Next.
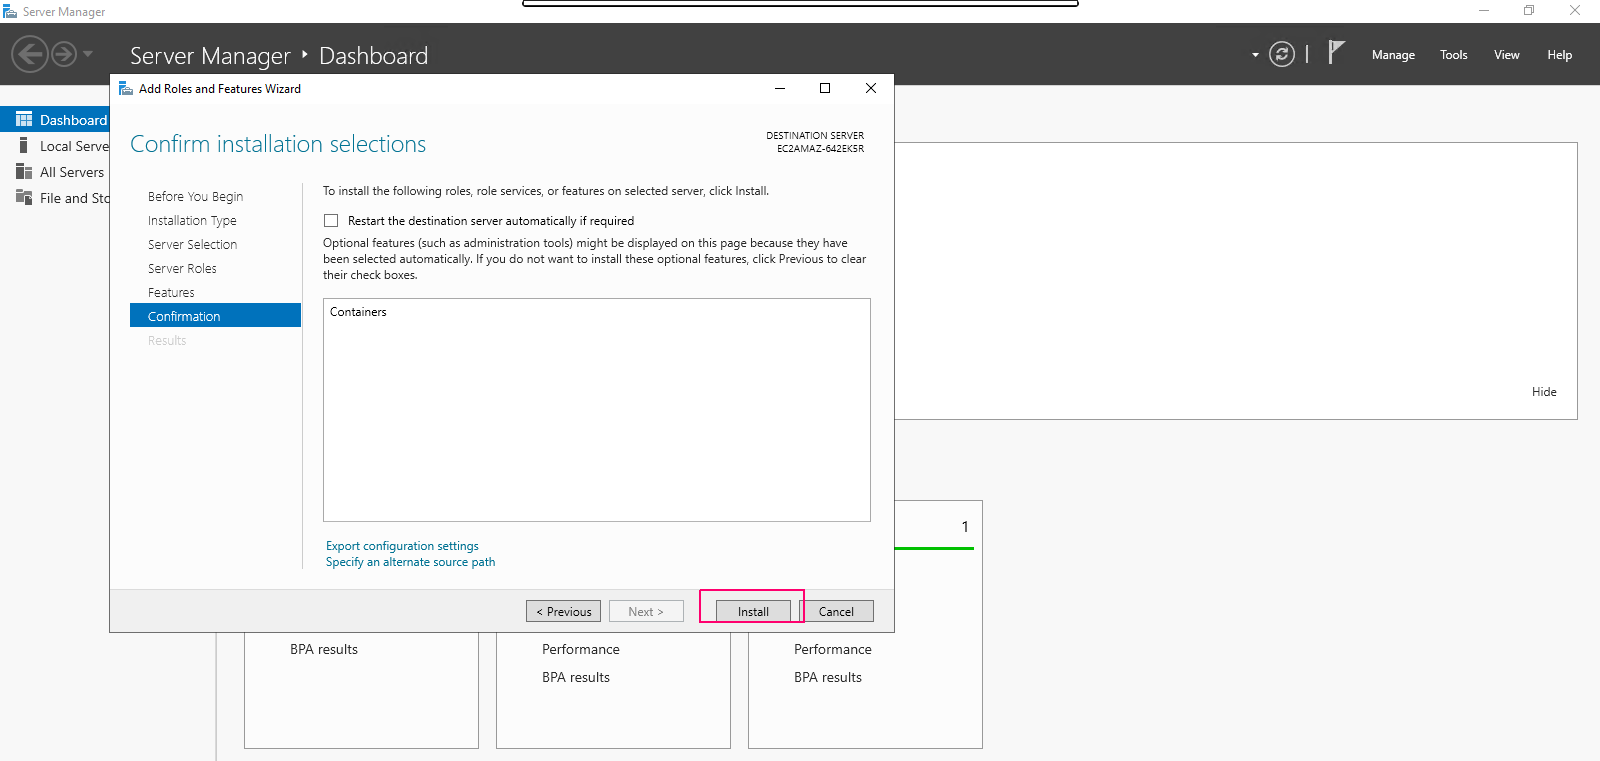
- In Confirmation page,review the added roles & features then click on Install.
- Once installation is done,click on close option to “Close the Add Roles & Feature wizard”.
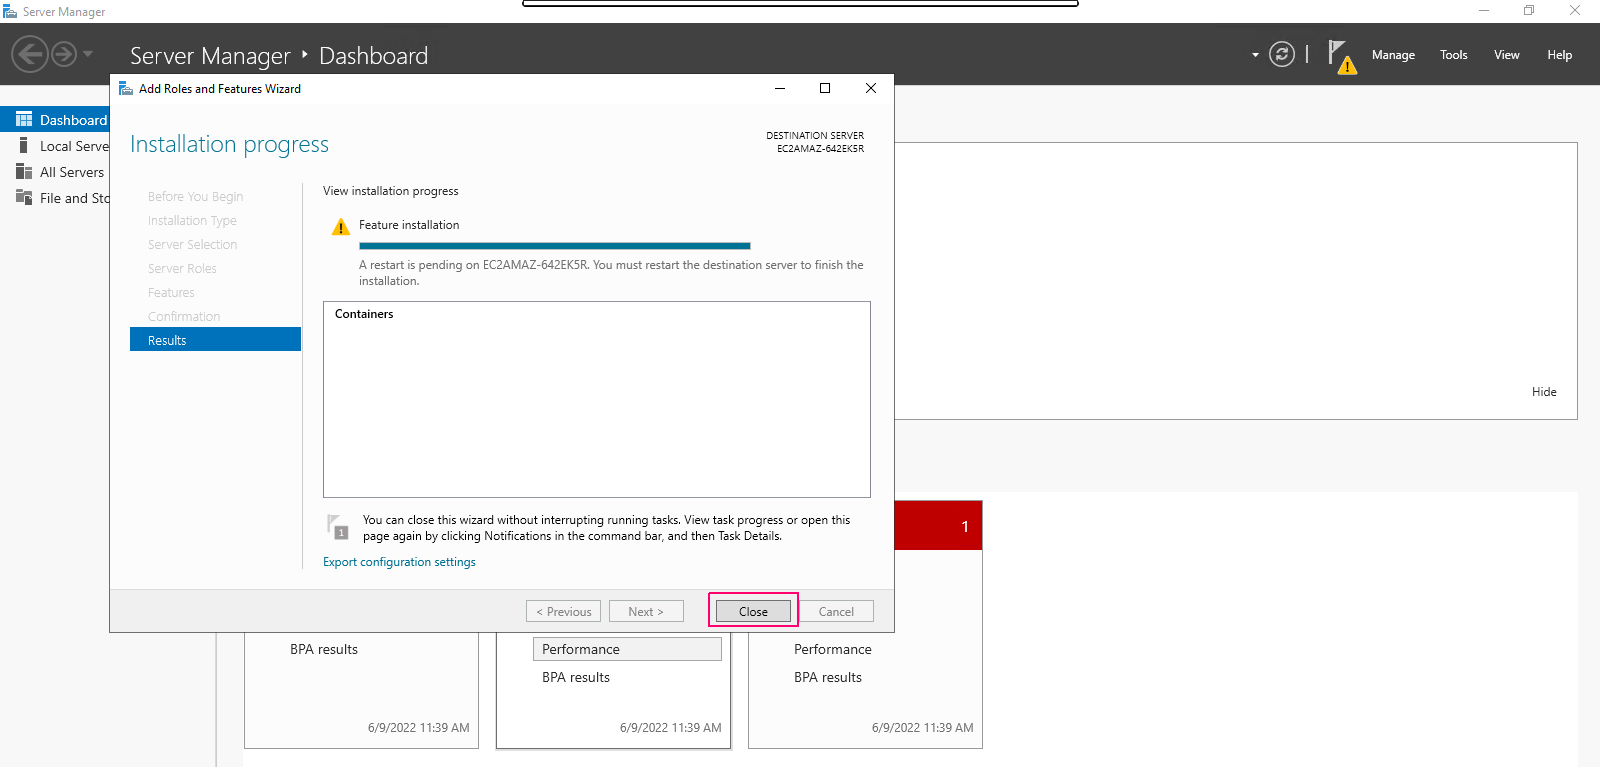
- Restart the Server.
To Configure Container (Docker) on window server 2019
- After restart the server,click on search icon & search “Windows PowerShell”.
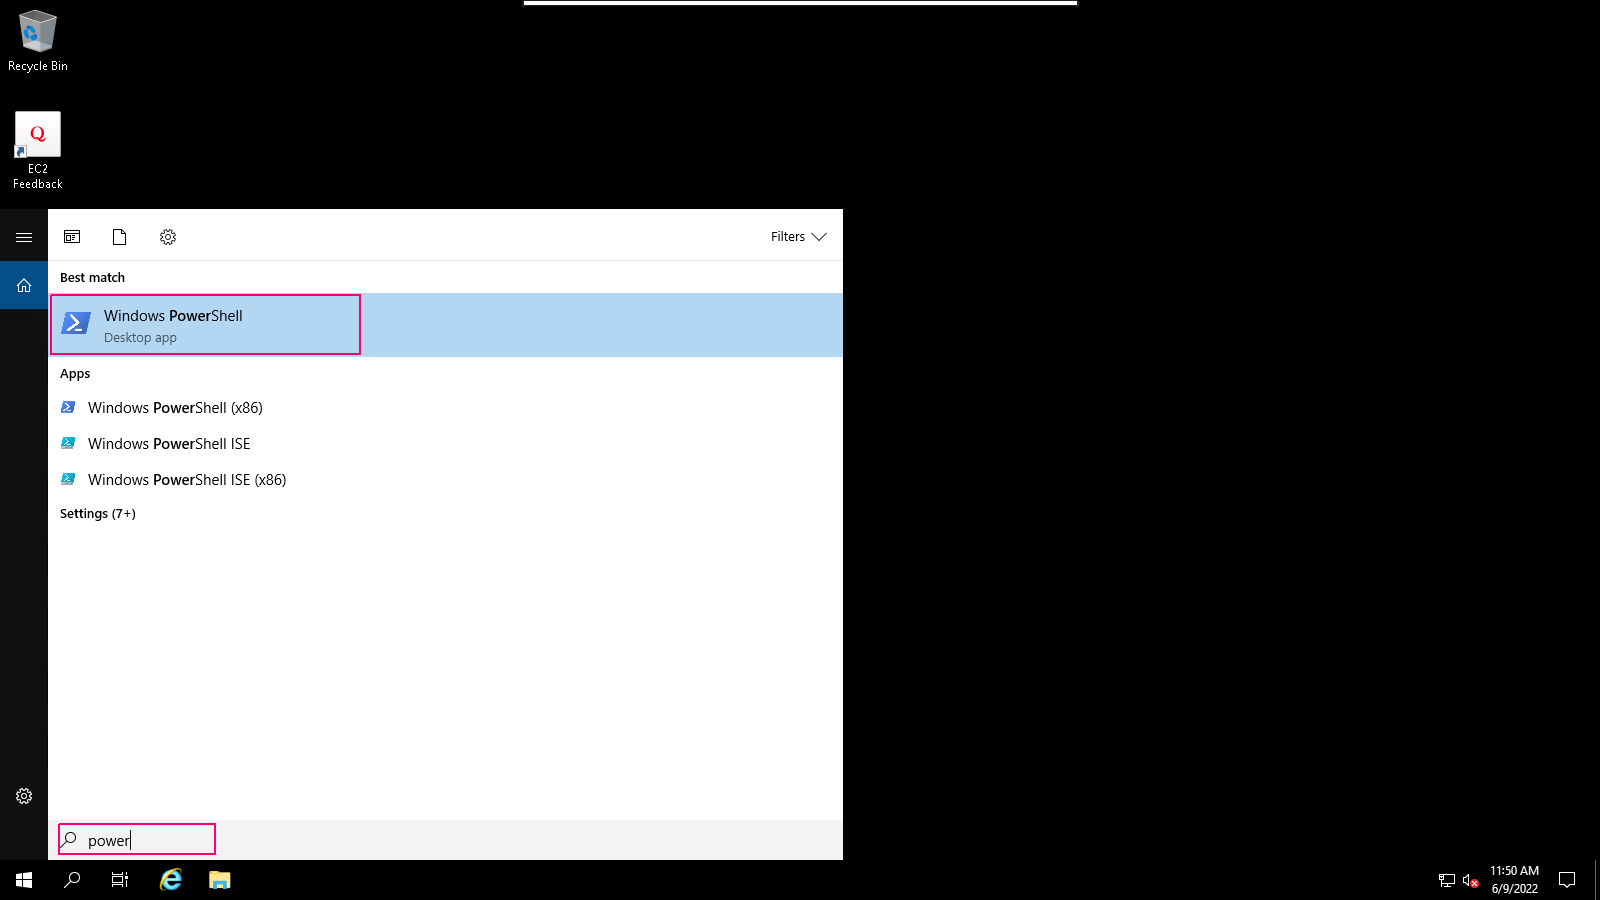
- Open the Windows PowerShell.
- To Install the Microsoft Package Provider for Docker.
Install-Module -Name DockerMsftProvider -Repository PSGallery -Force
- Now,install the latest version of Docker.
Install-Package -Name docker -ProviderName DockerMsftProvider
- Here is the command output.
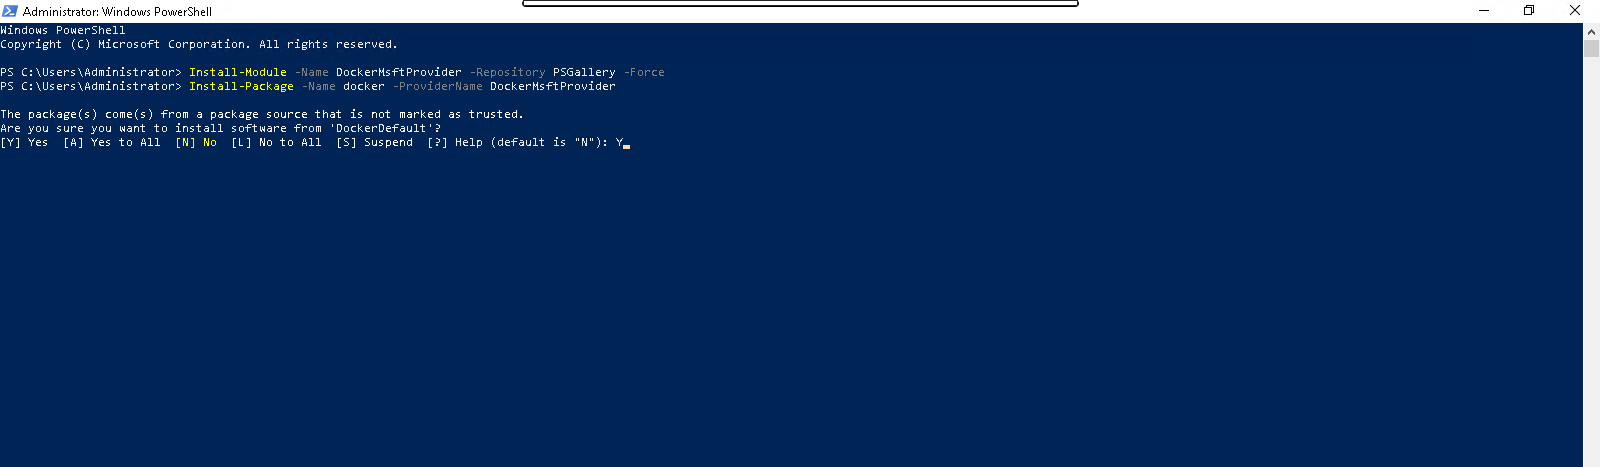
- Type Y & hit the Enter key.
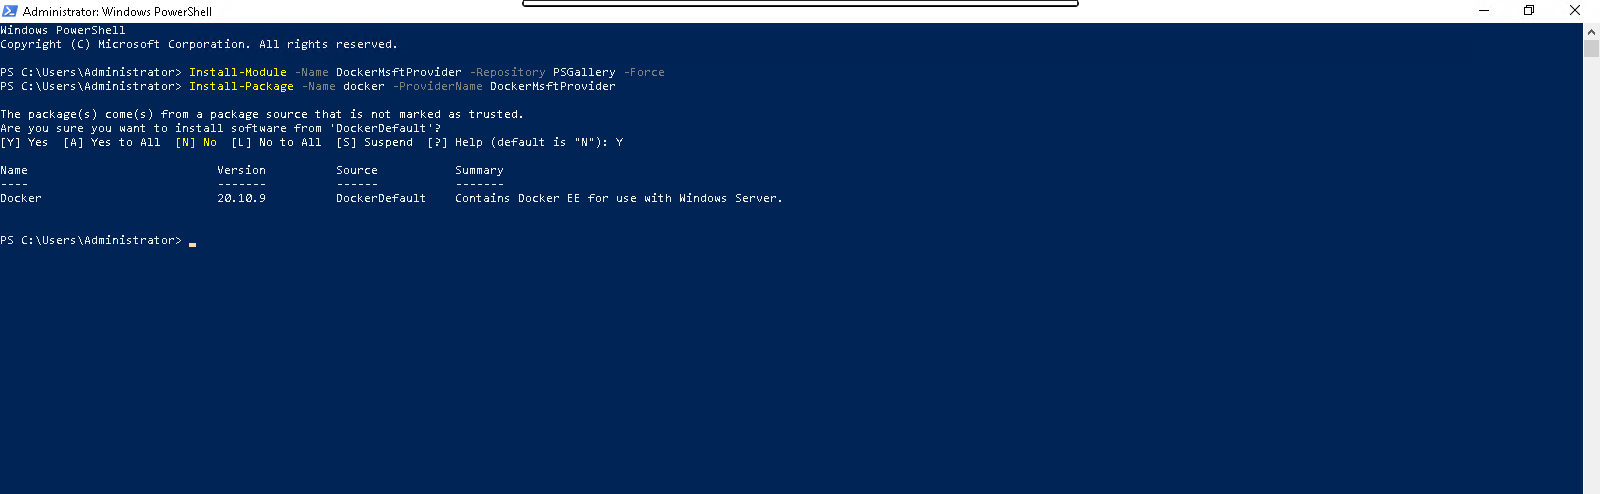
- After docker is installed,restart the server.
Restart-Computer -Force
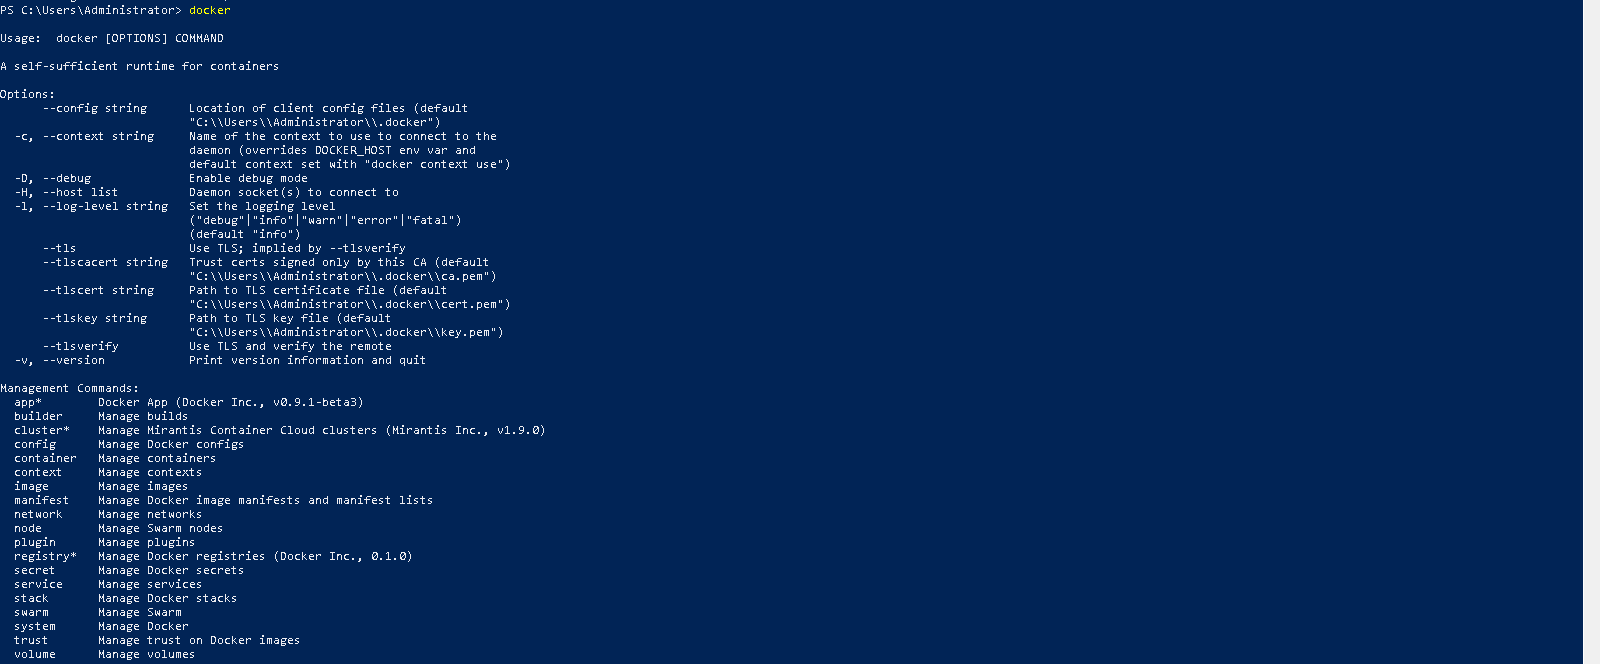
- Run the docker command to list the available options.
dockerdocker images
- Here is the command output.
- Run the First container.
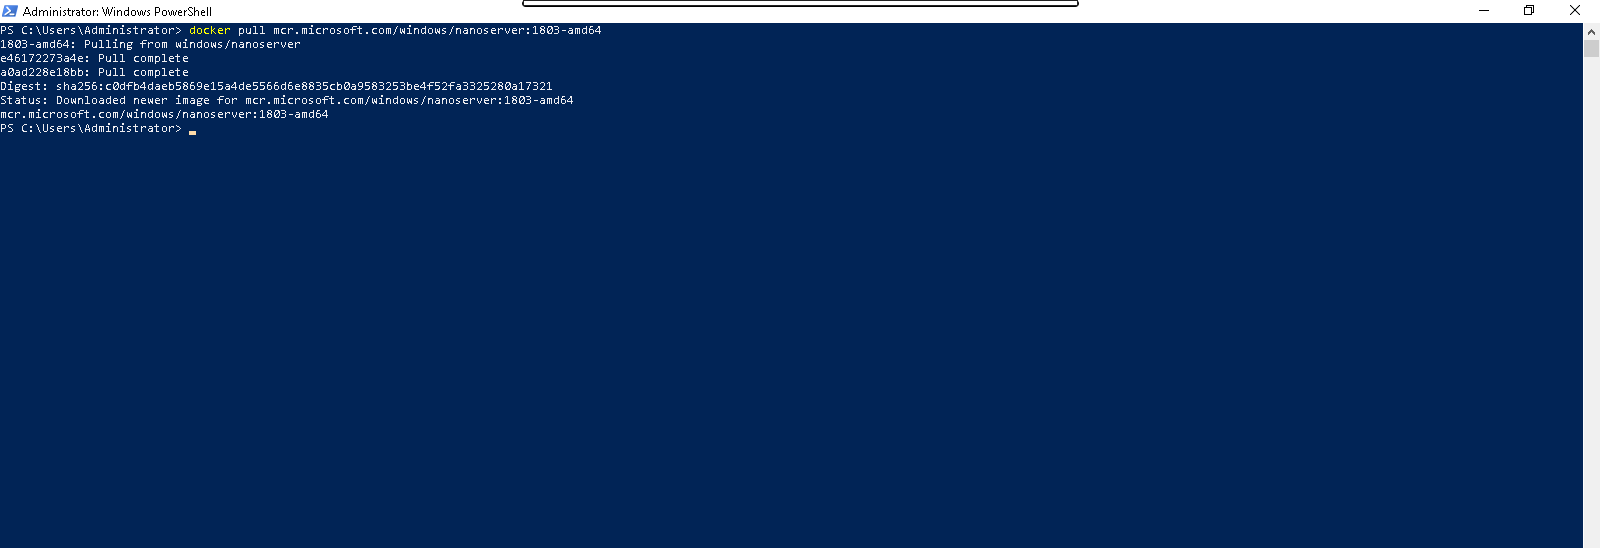
docker pull mcr.microsoft.com/windows/nanoserver:1803-amd64
- Here is the command output.
- to list the docker images.
docker images
- Here is the command output.
