 Alwin John
- July 26, 2022
Step By Step to Install & Configure Terraform in window server 2019 base
Hello,In this blog we are installing & configure terraform in window server 2019 base.Terraform is a free & open source an infrastructure as code tool.Using terraform,we can easily deployed the infrastructure on popular service providers.
There are some steps to setup Terraform in window server 2019 base:
- Login to window server 2019 base.

- Open the Windows PowerShell.
- Windows PowerShell will open.
Install Scoop on Window Server
Scoop is a open source command line package manager for Windows server.It allows to install open source packages on windows systems.
- Run the following command.It will change the execution policy to remote signed for your account & allow to install Scoop.
Set-ExecutionPolicy RemoteSigned -scope CurrentUser
- Type A & hit the enter.
- Here is the command output.

- Now install scoop.
iwr -useb get.scoop.sh -outfile 'install.ps1'

.\install.ps1 -RunAsAdmin
- Here is the command output.

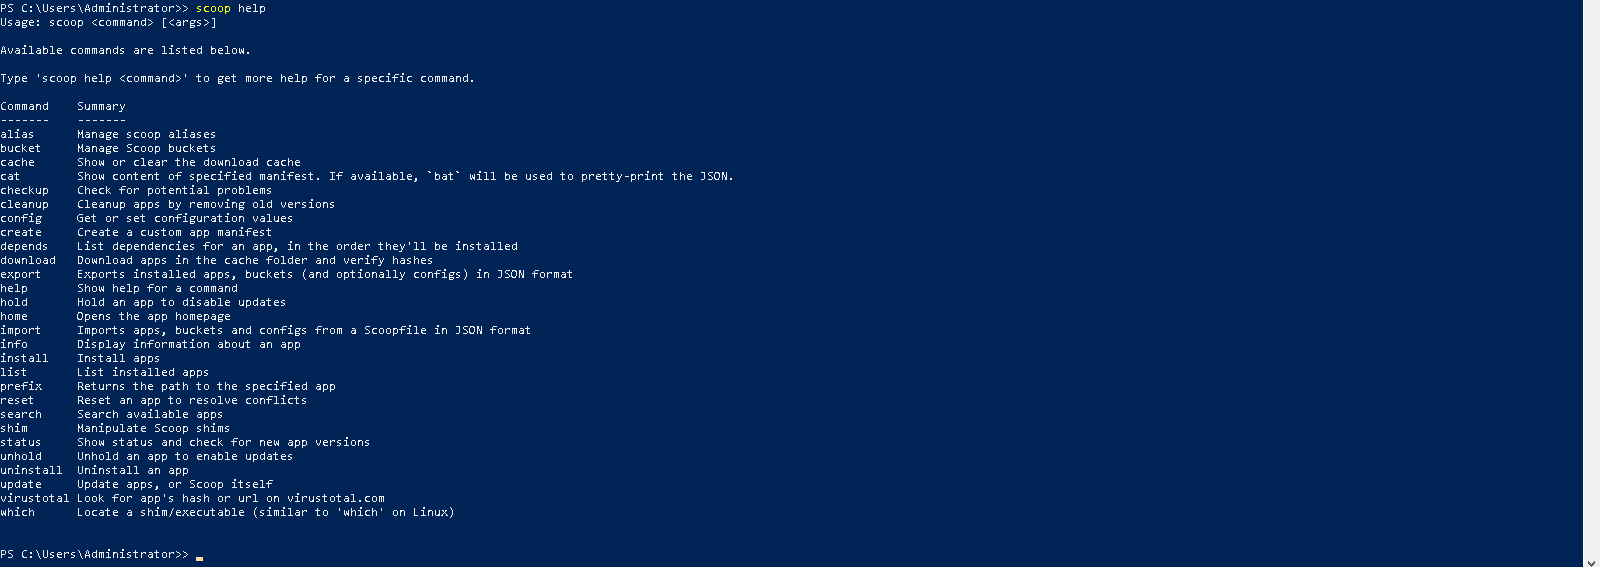
- To list all options available with Scoop.
scoop help
- Here is the output.
Install Terraform on Server 2019
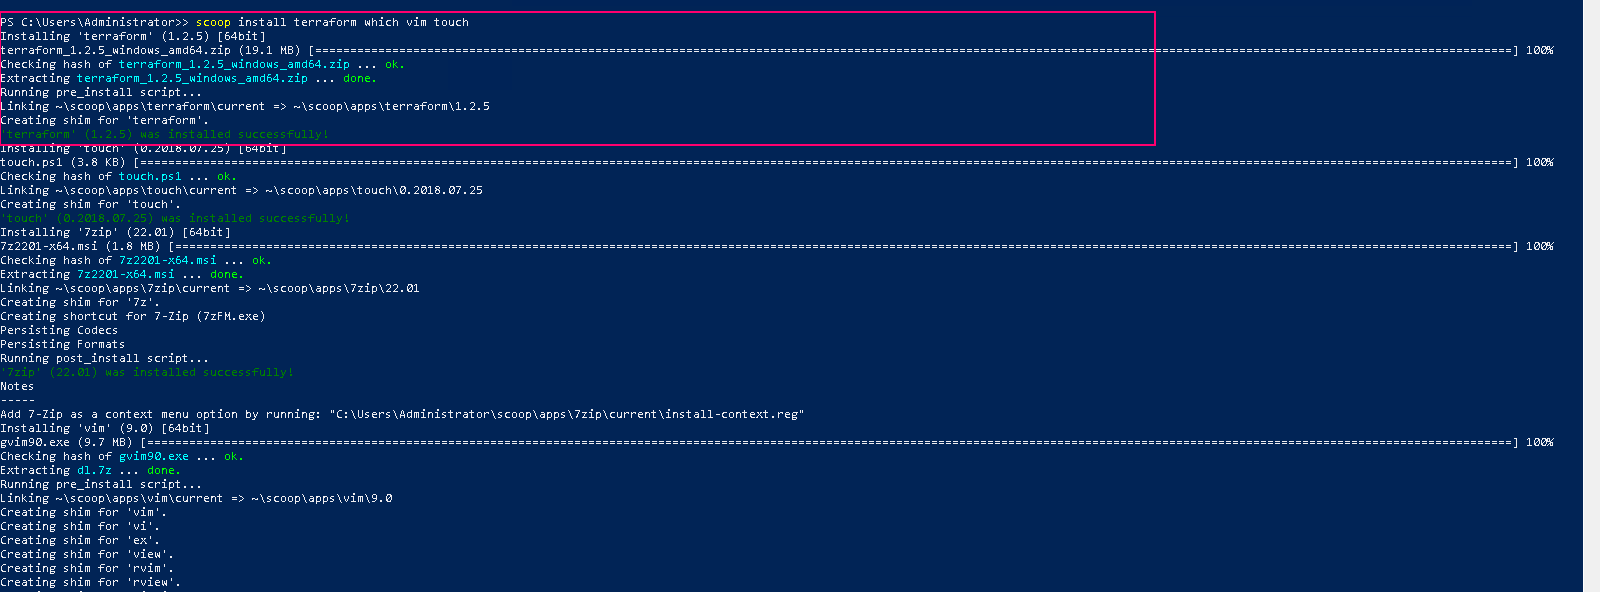
- Run the following command:
scoop install terraform which vim touch
- Here is the command output.

- Display the location of terraform.
which terraform
- Here is the command output.

- Check the terraform version.
terraform.exe -v
- Here is the command output.

Configure Terraform on Server 2019
- Create a directory
mkdir terraform
- Here is the command output.

- Navigate to directory & create a terraform main configuration file.
cd terraform

touch main.tf
- Open the created file.
vim main.tf
- Paste the following code.
# Provider

provider "aws" {

access_key = ""

secret_key = ""

region = "us-east-1"

}
- Display the code.
cat main.tf
- Here is the command output.

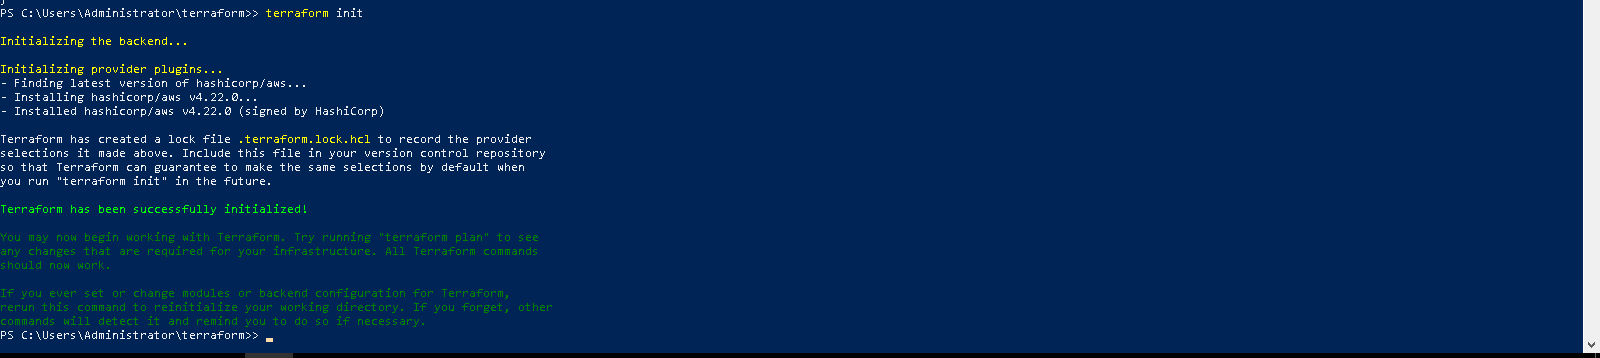
- Initialize the Terraform.
terraform init
- Here is the command output.
- List all created files and directories.
ls
- Here is the output.

- Remove the Terraform.
scoop uninstall terraform