shivani singh
- September 9, 2021
Step by Step to Install Wireshark on Ubuntu 20.04 LTS
Wireshark is a free & open source network packet analyzer tool. It helps to capture all packet getting in or out of a network interface and shows. It supports all platform such as Linux, Windows and Mac OS.
There are few steps to install wireshark on ubuntu:
Step 1: Update the System.
apt-get update
Step 2: Install the wireshark on system.
apt-get install wireshark
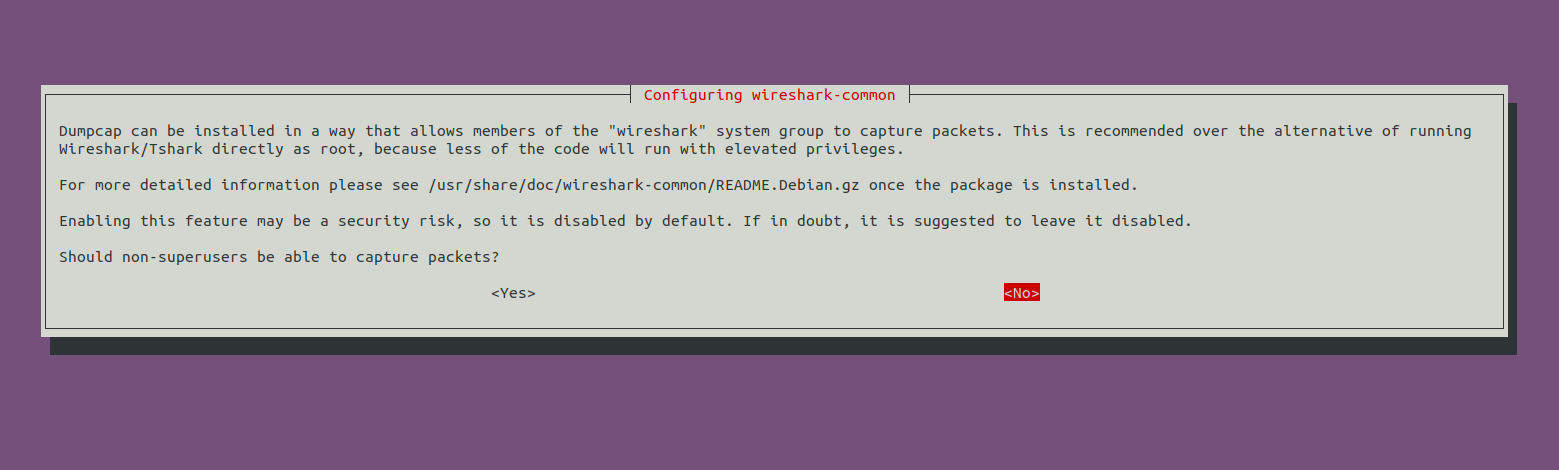
- Here is the command output.
- Select Yes option.
- Add user to the WireShark group.
usermod -aG wireshark $(whoami)
- Reboot the system.
reboot
Step 3: To start Wireshark from Terminal using command:
wireshark
- Here is the command output.
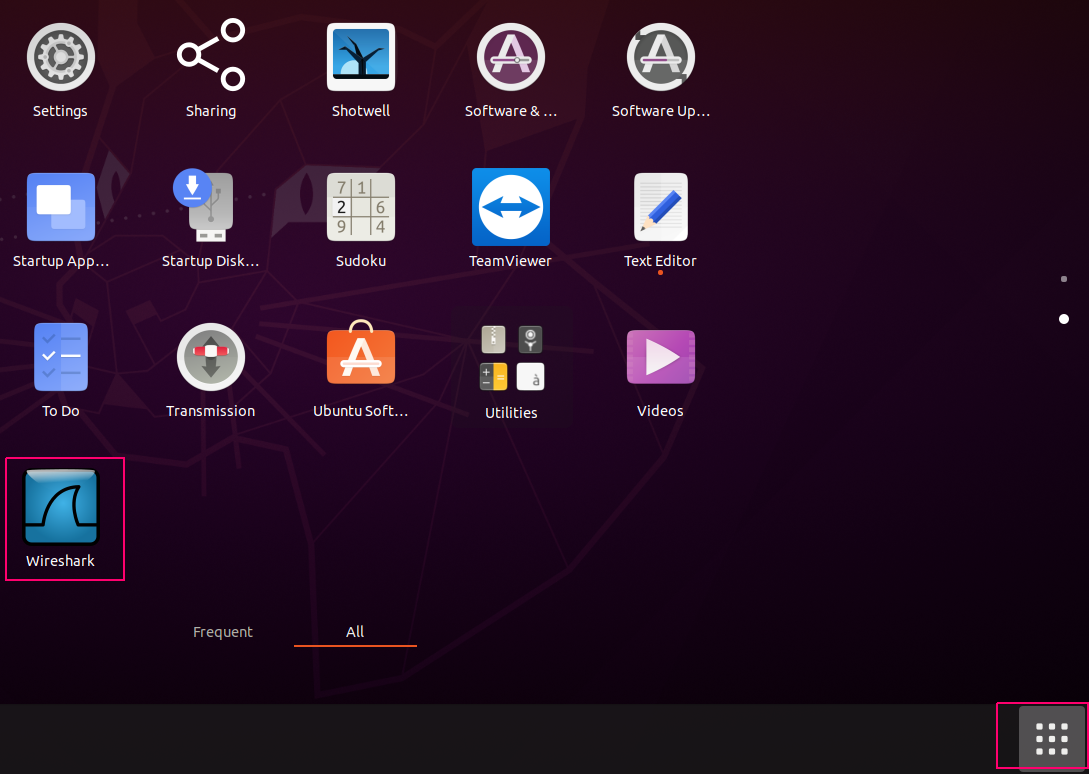
- To start wireshark using GUI.
- Go to Show Application.
- Click on Wireshark.
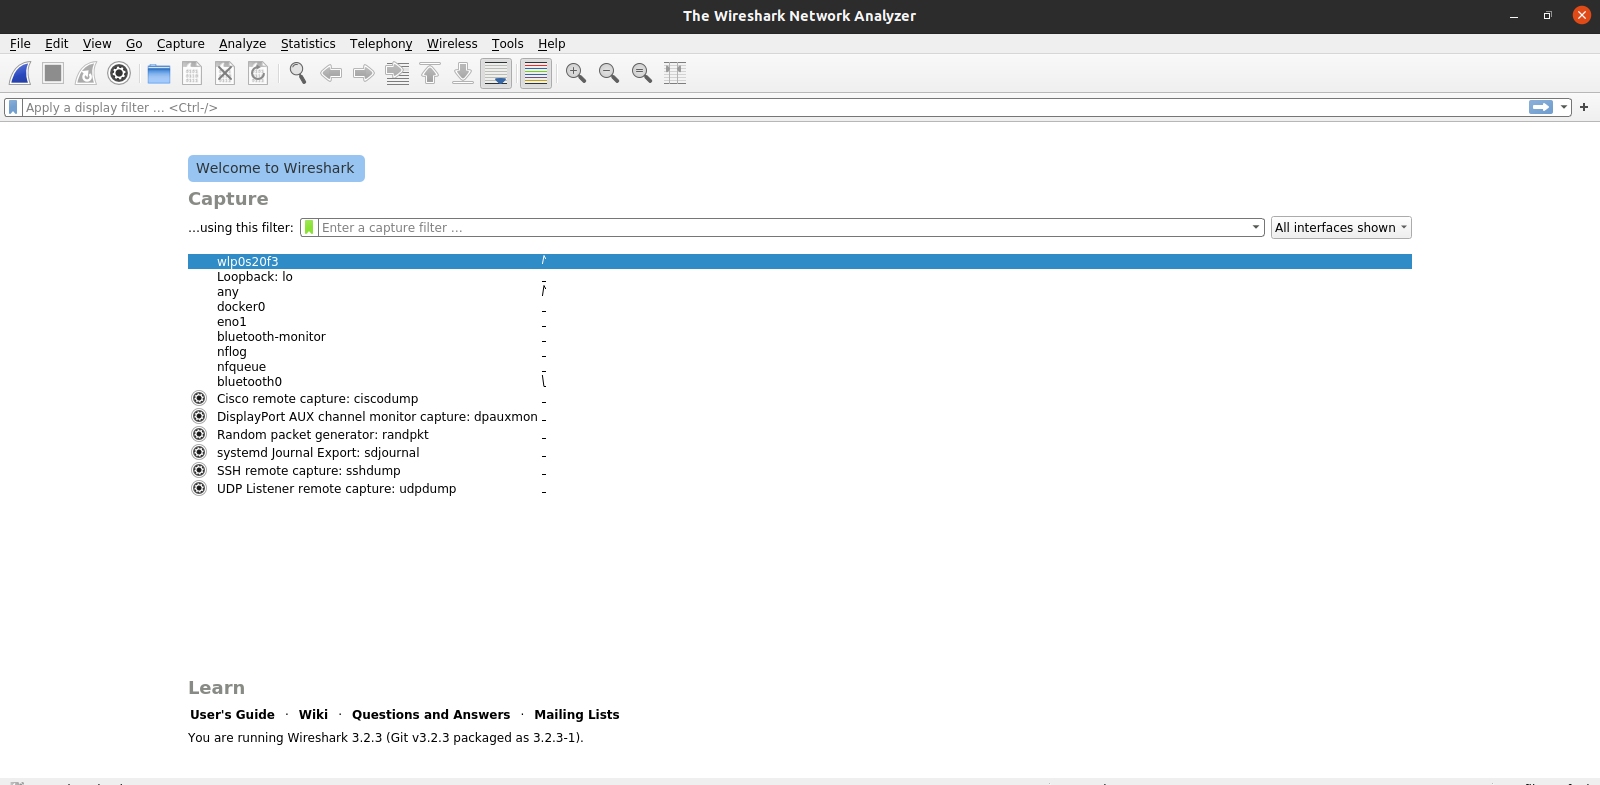
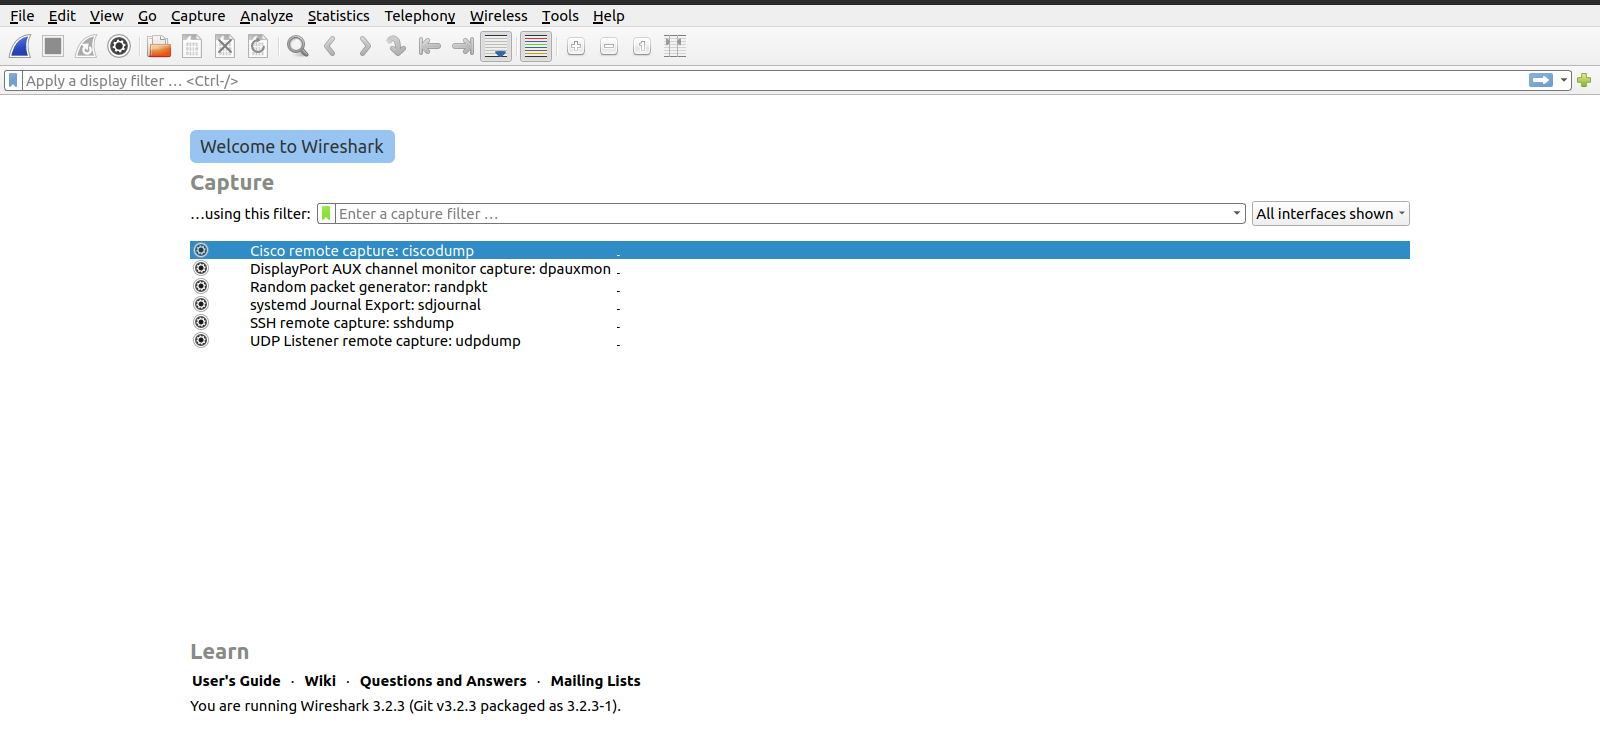
- Now Wireshark is Ready.
- Here,there are few interfaces are shown.
- Select Any interface.
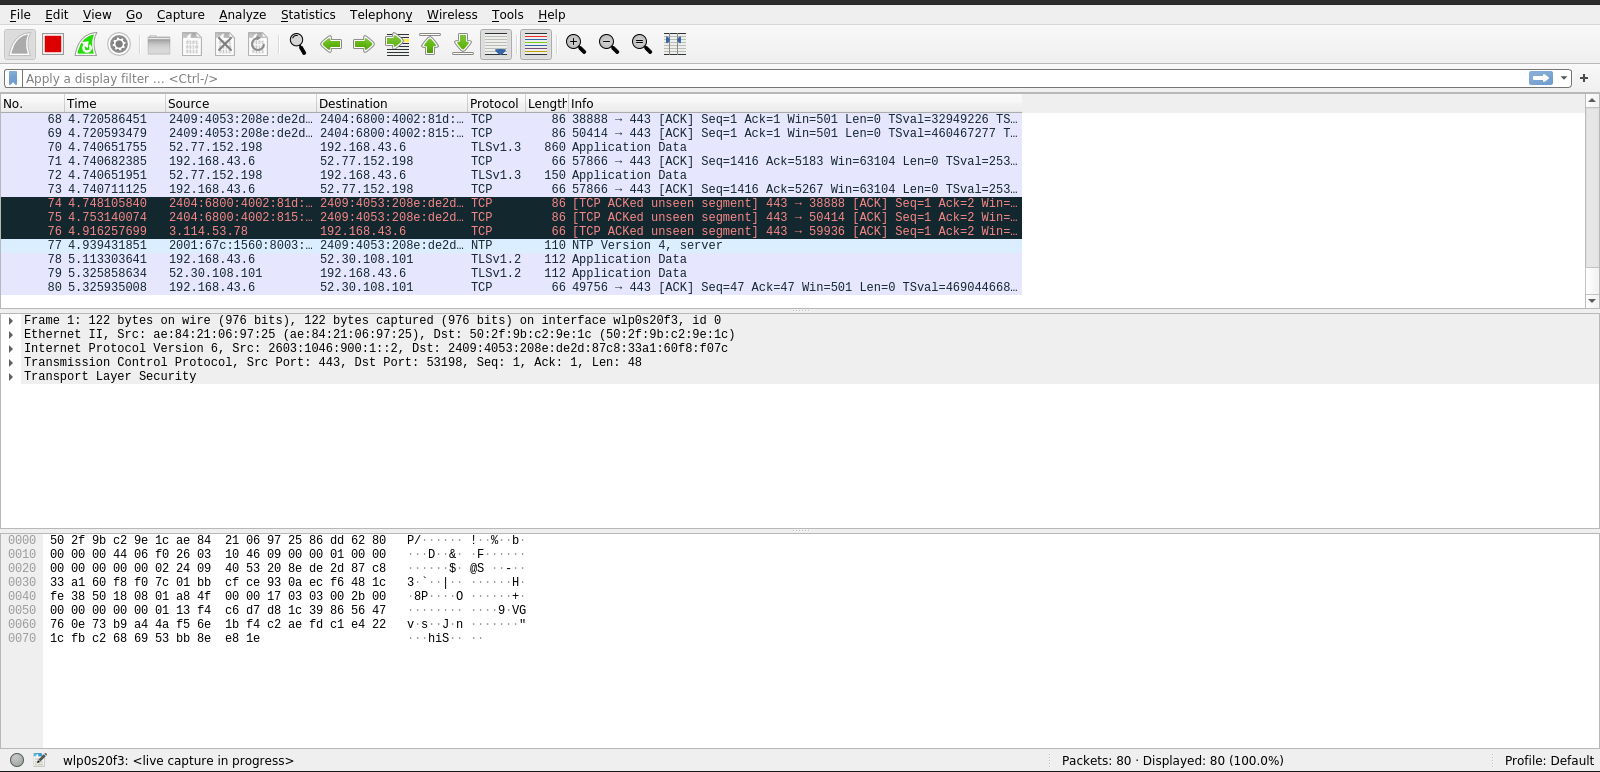
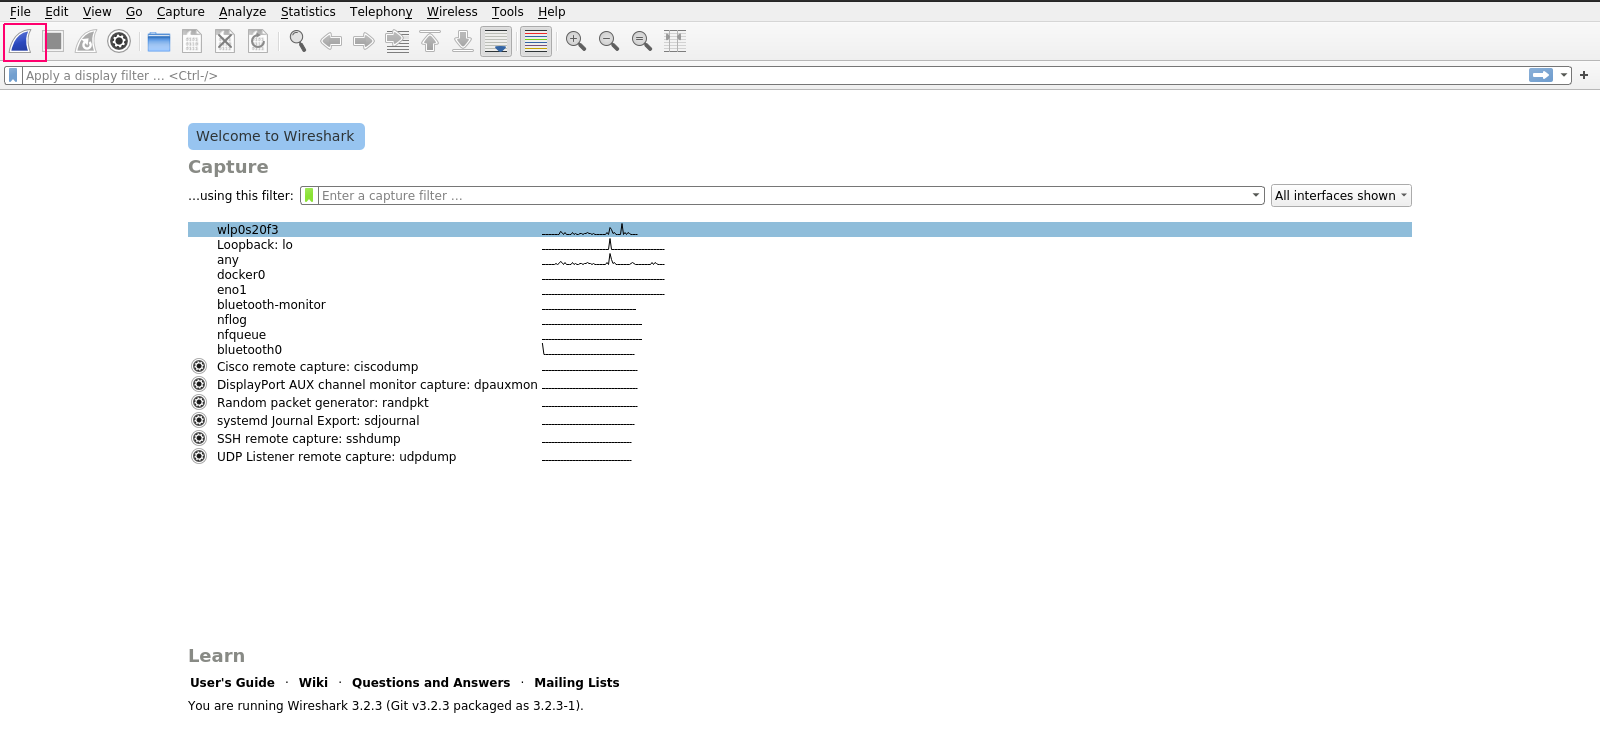
- To run the wireshark command on Terminal.
- We can see many interface list.
- Select any interfaces.
- Click on start capture packets.
- Now, All the capture packets is listed.